Hermes Agent is an open-source AI agent that runs in your terminal and can also connect to messaging platforms, scheduled jobs, tools, and workflows.
This guide keeps the first run simple: install Hermes Agent on Linux, run the setup wizard, connect a provider, and confirm the CLI actually works before you move on.
When a Linux VPS is a good fit for Hermes Agent
A Linux VPS or server makes sense if you want Hermes Agent to:
run from a stable always-on machine
access local files or scripts on that server
handle scheduled jobs later
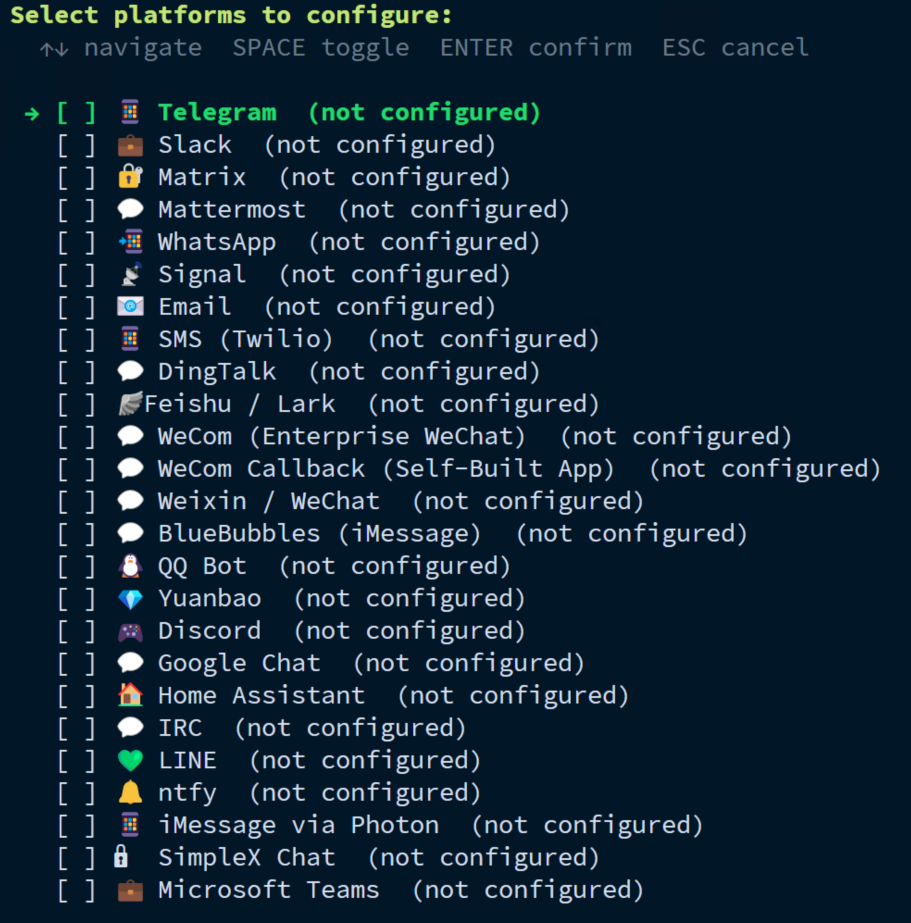
connect to things like Telegram, email, or other automation flows
A VPS is probably not the best first home if you only want to casually try one or two prompts and never use the automation side. In that case, a local Linux machine or WSL install may feel easier.
What you need before you start
Before you do anything, make sure you have:
a Linux machine with shell access
a user account that can install software
curlavailablean internet connection
at least one model/provider you plan to use later
If you do not have a provider picked yet, that is fine. You can still install Hermes first and decide during setup.
What this tutorial will do
By the end of this guide, you will have:
installed Hermes Agent
confirmed the
hermescommand workslocated the main config and environment files
run the first setup flow
sent a simple test prompt
checked the installation with
hermes doctor
Step 1: Run the official installer
The official installer is the simplest starting point on Linux.
curl -fsSL https://hermes-agent.nousresearch.com/install.sh | bash
This downloads the official install script and runs it. On current builds, the installer uses a managed Python environment and sets up the Hermes CLI for you.
If everything goes well, you should finish with the hermes command available in your shell.
Note: If your shell does not pick up the command immediately, open a new terminal session or run
exec $SHELLbefore assuming the install failed.
Step 2: Confirm Hermes is installed
Now check the installed version.
hermes --version
Hermes should return a version string similar to this:
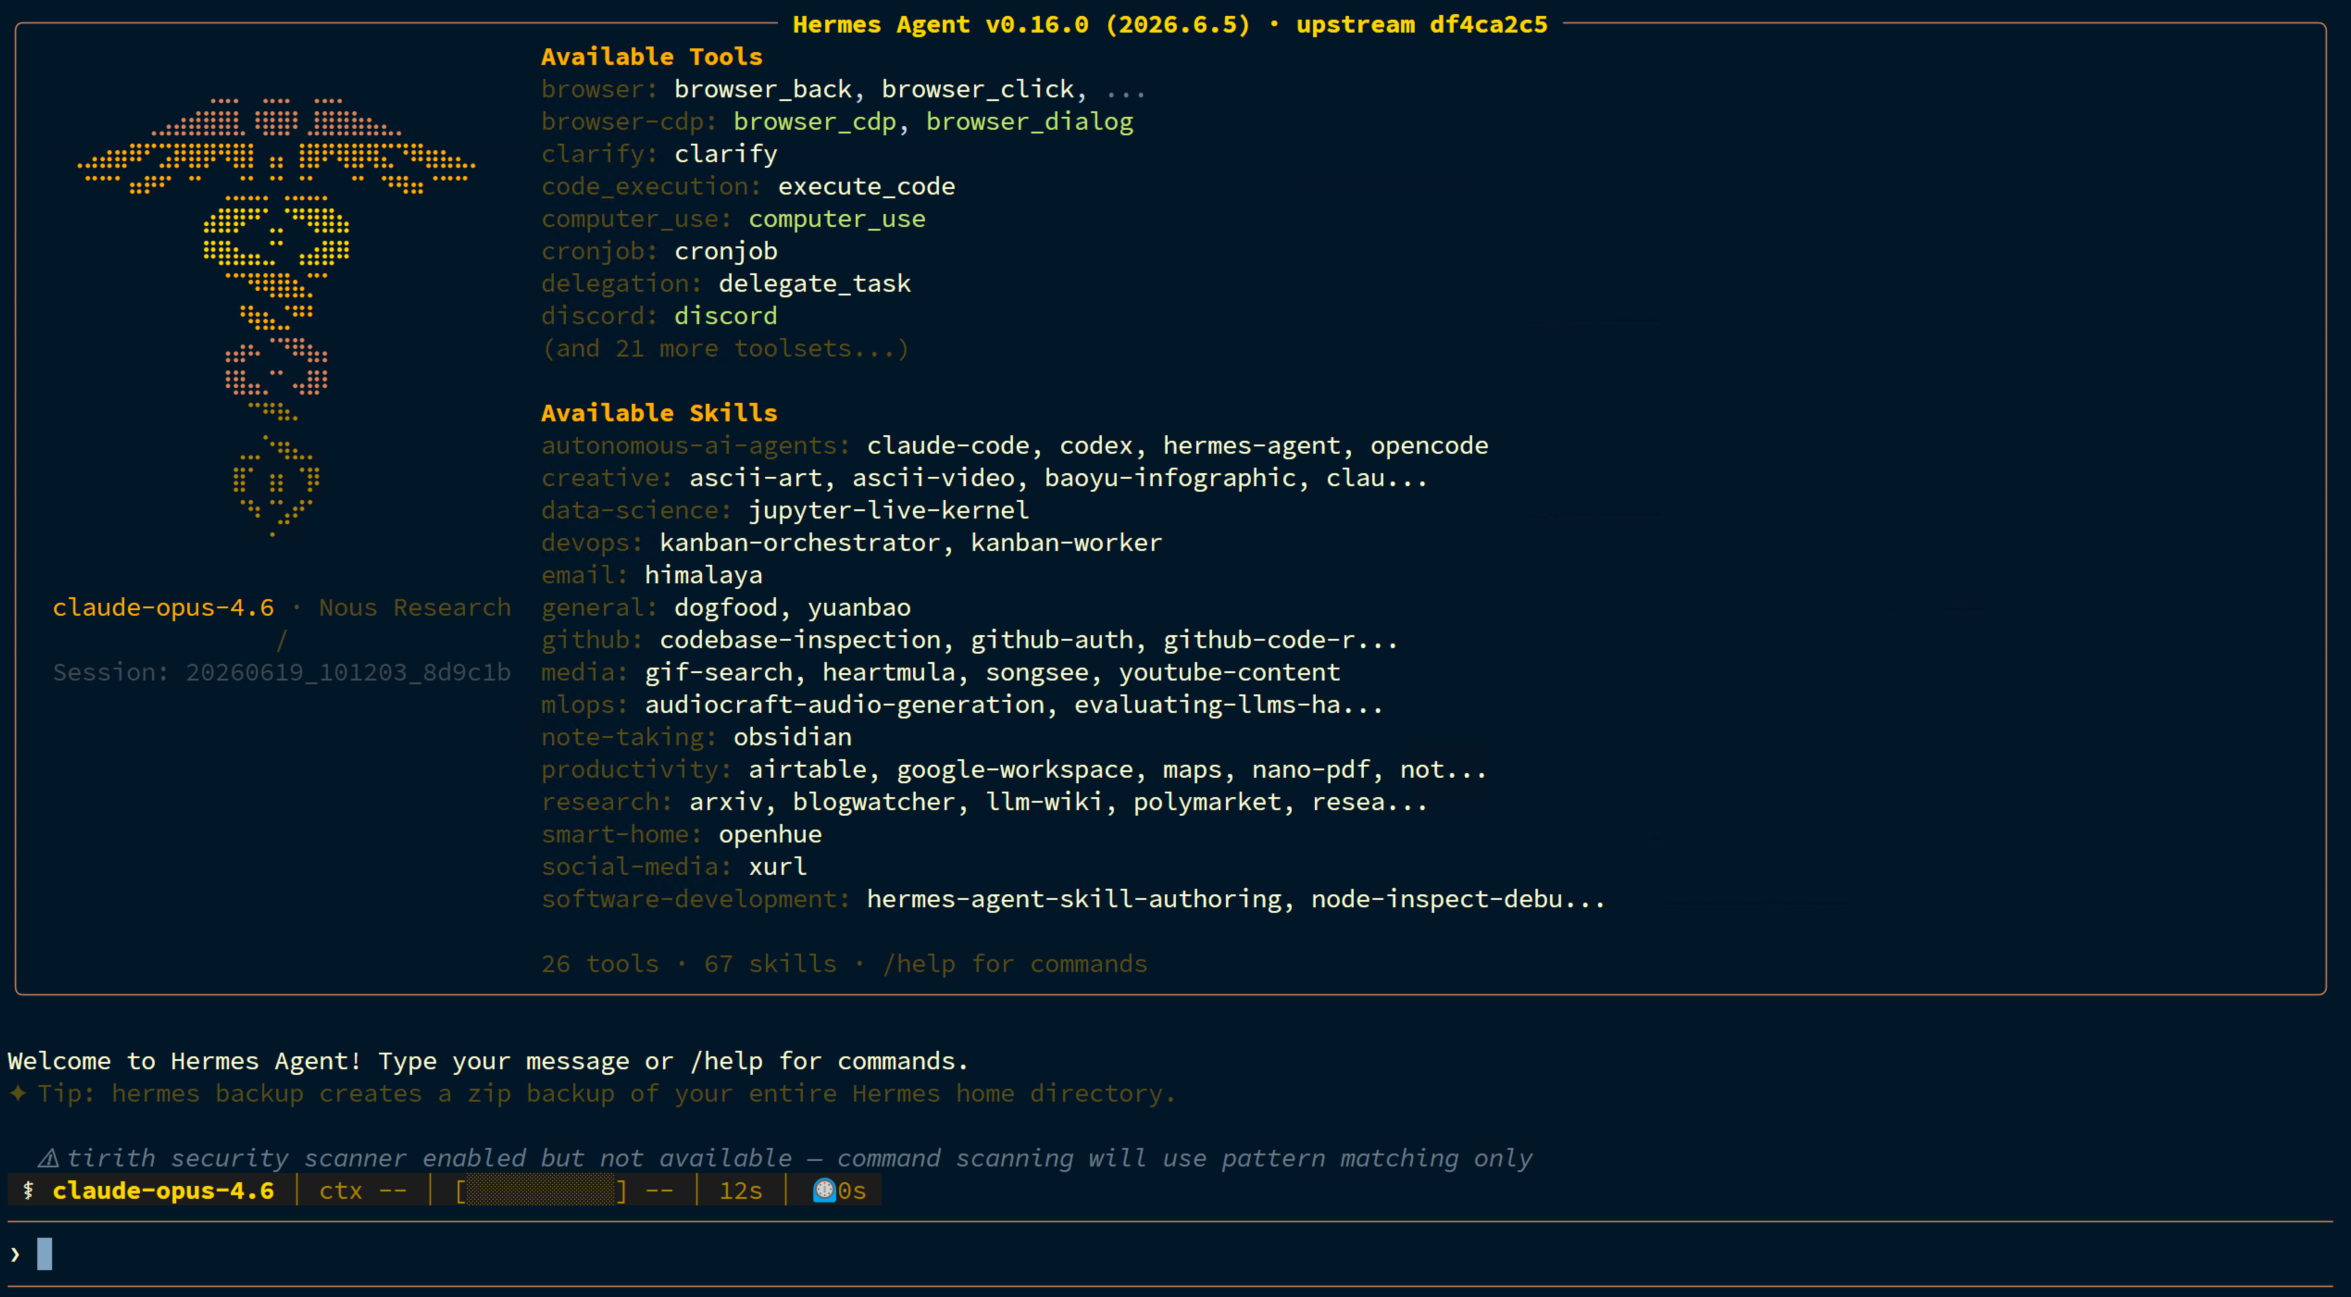
Hermes Agent v0.16.0 (2026.6.5)
If you get command not found, the install usually completed in a location your current shell has not reloaded yet. Open a fresh shell and try again.
Step 3: Look at the main CLI entrypoint
Before jumping into setup, it helps to confirm the main command tree is available.
hermes --help
You should see a large command list that includes things like:
chatsetupmodeldoctorcrongatewayconfigtoolsskills
That tells you the CLI is alive, not half-installed, and ready for first configuration.
Step 4: Find where Hermes stores its config
Hermes keeps its main files under your home directory.
First print the active config path:
hermes config path
Then print the active environment file path:
hermes config env-path
They should resolve to paths under your Hermes home directory, for example:
/root/.hermes/config.yaml
/root/.hermes/.env
The first file stores configuration. The second file usually stores API keys and other secrets.
Do not paste secrets into random notes or shell history if you can avoid it. Keeping them in the right place from the start saves future cleanup.
Step 5: Run the setup wizard
For most people, this is the easiest next step:
hermes setup

Unless you want to use Nous Portal by default, you might want to select Full setup here. If Hermes is already installed and you run this later, it reopens the setup flow with your current values as defaults. That is useful when you want to change provider settings, tool choices, or other basics without digging through config files manually.
If you specifically want the one-shot Nous Portal path, Hermes also supports:
hermes setup --portal
That route is designed to log you in through Nous Portal, set a Nous model, and opt into the Tool Gateway in one pass.
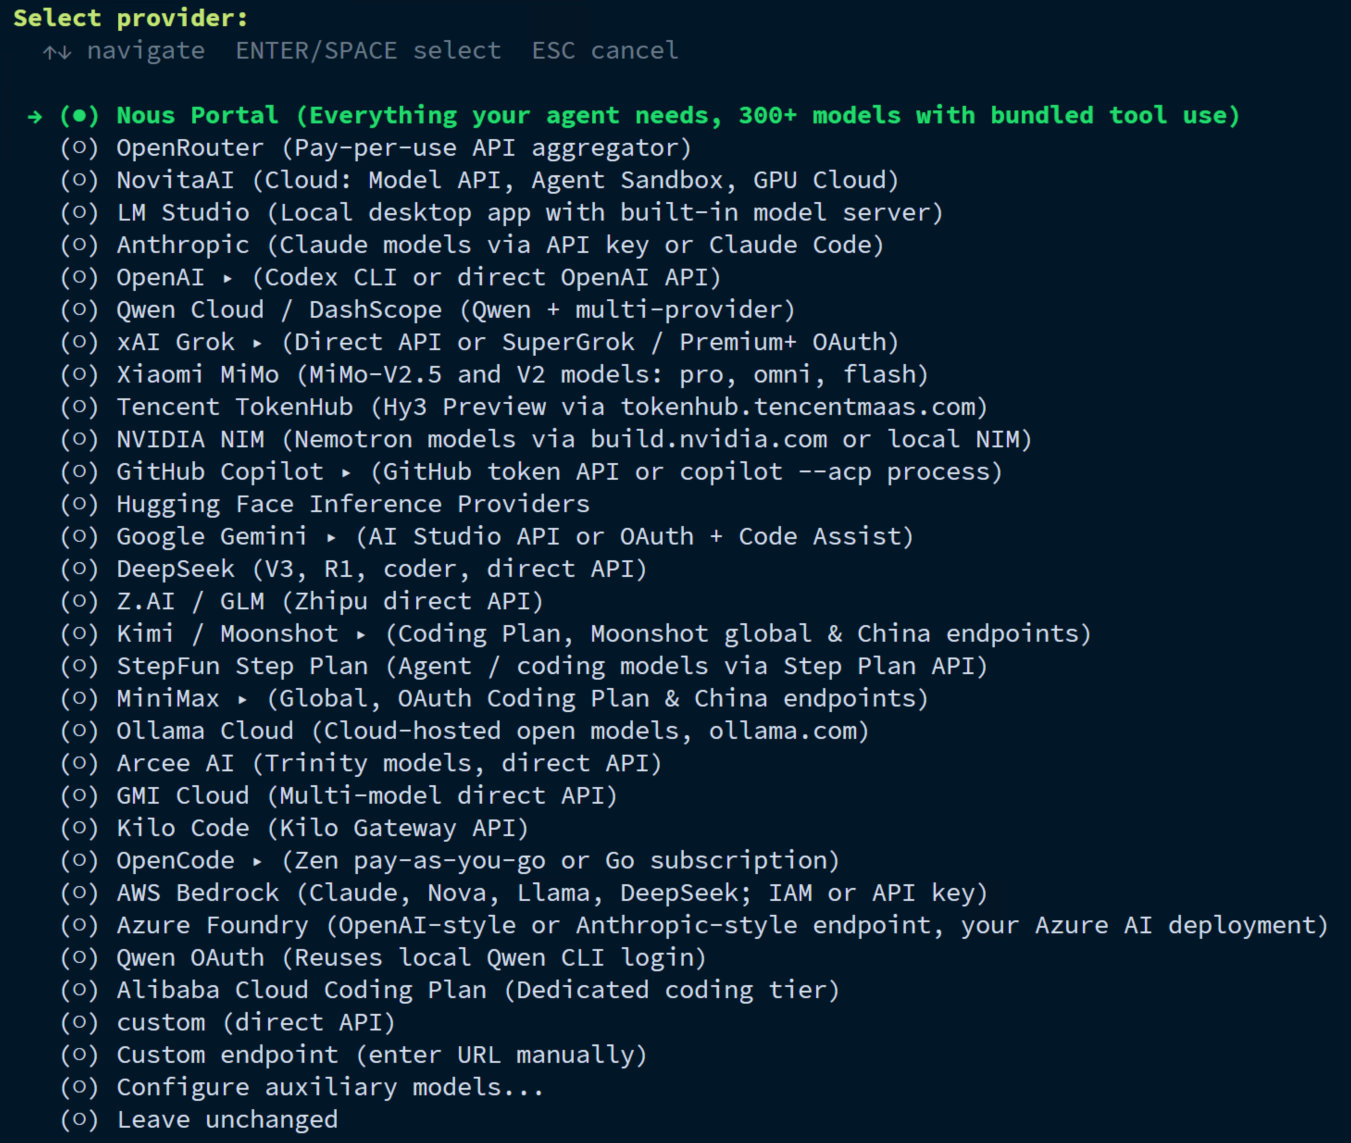
Step 6: Pick a provider and finish first-time setup
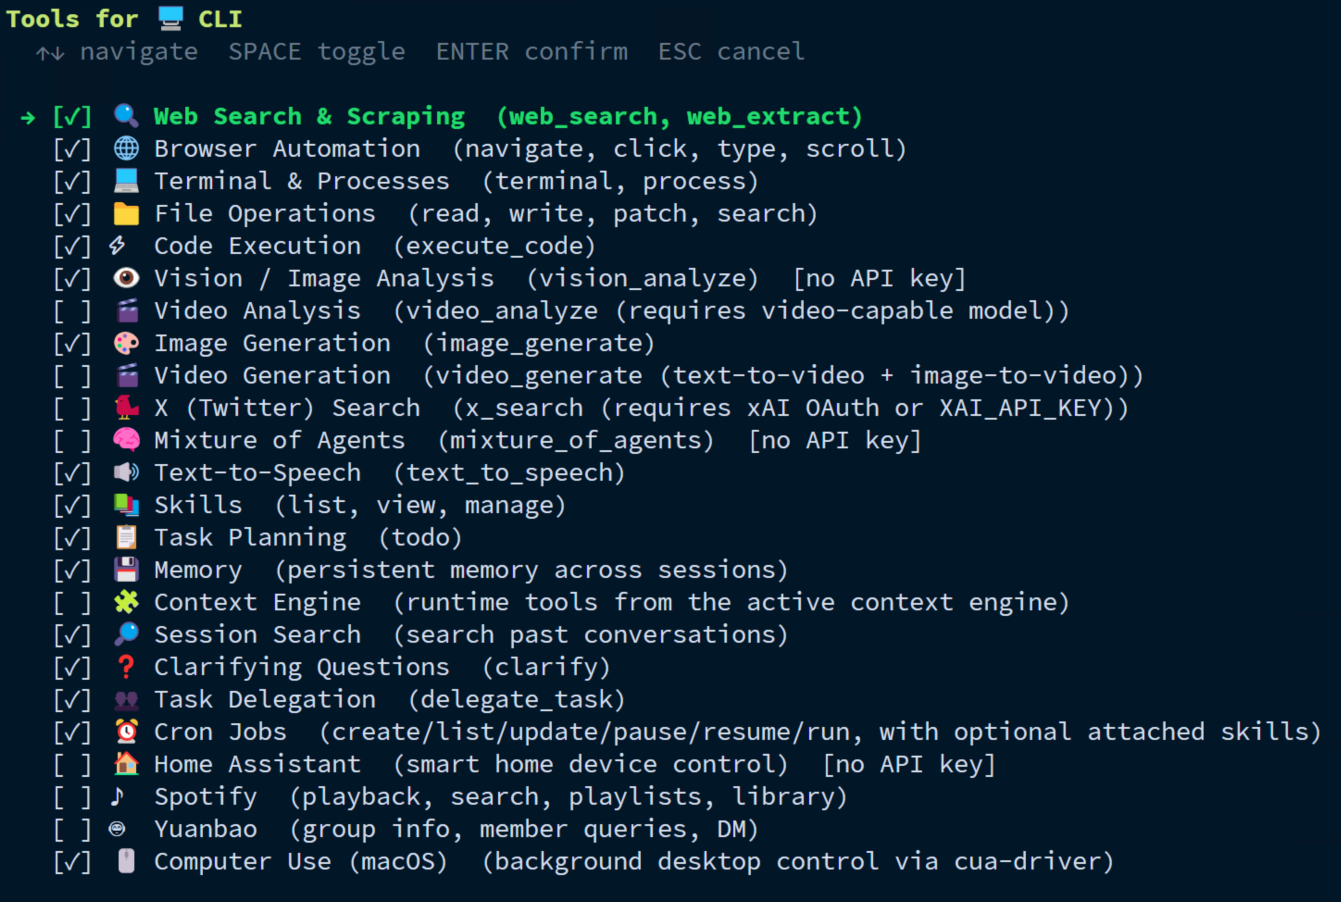
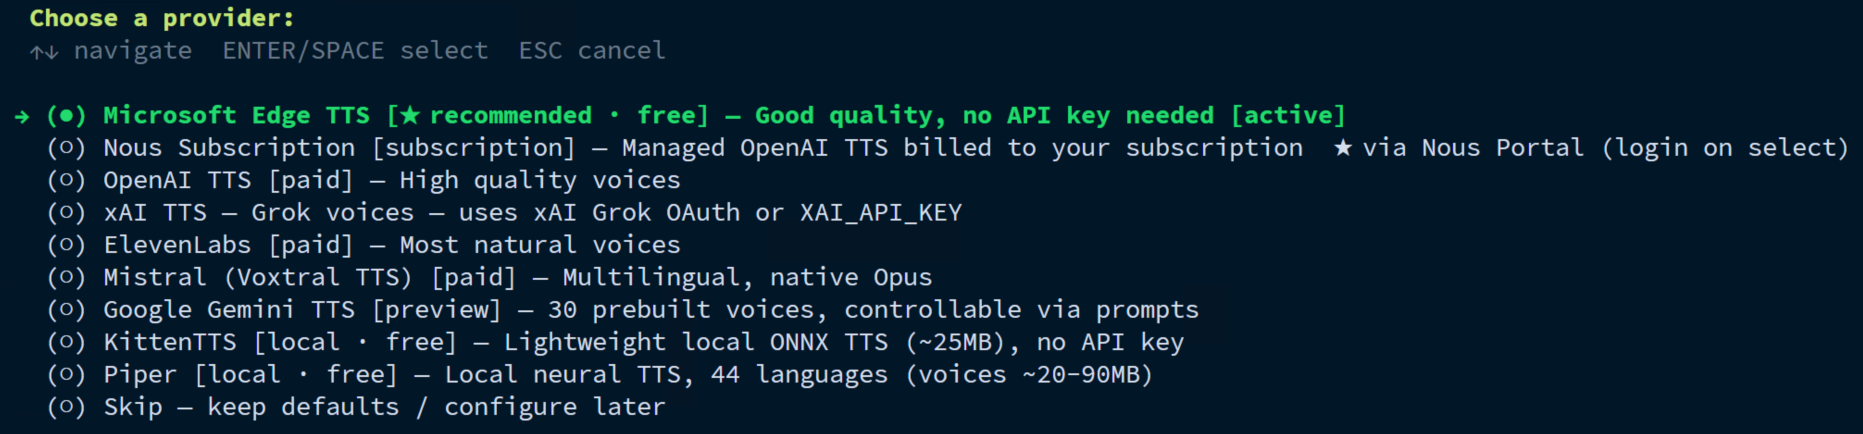
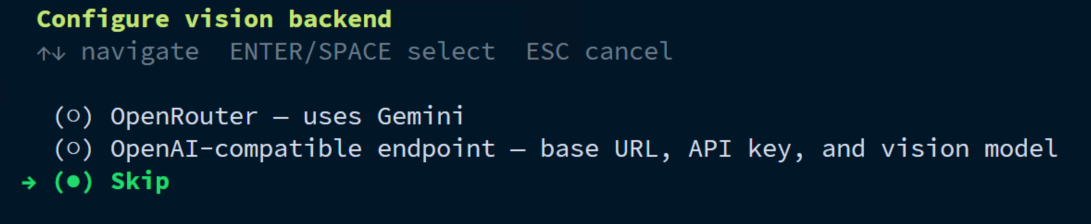
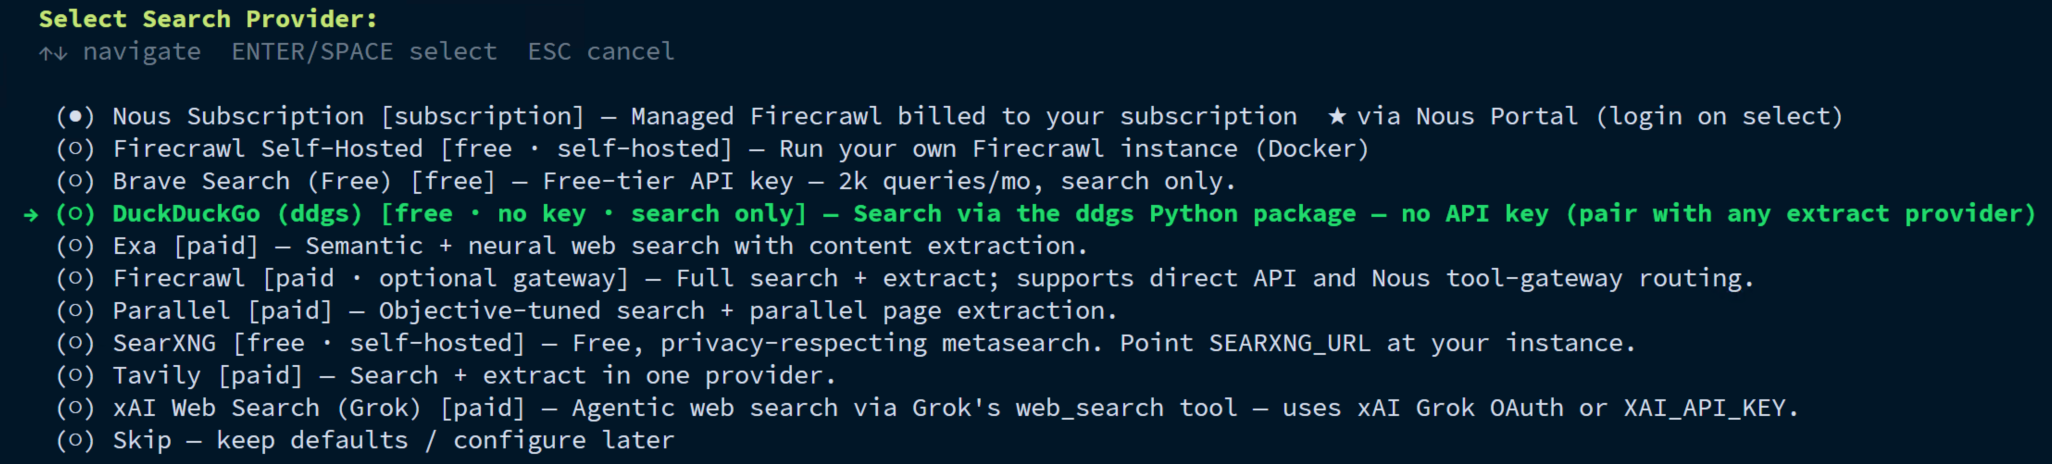
During setup, Hermes will guide you through the important choices. Depending on the path you choose, that may include:
selecting a provider
selecting a model
choosing tool settings
confirming gateway or agent settings later
Do not overthink every option on day one. The goal is not to build your perfect forever configuration. The goal is to get to a working first session.

If you change your mind later, you can revisit the wizard with:
hermes setup
Or jump directly into model selection with:
hermes model
Step 7: Start your first Hermes session
Once setup is done, launch Hermes interactively:
hermes
If you prefer a one-shot test instead of dropping into chat immediately, use:
hermes chat -q "Say hello and tell me which tools you can use."
That is a good quick confidence check because it verifies the CLI can actually start a session instead of just showing help text.
Step 8: Run a health check
Now do a basic sanity check:
hermes doctor
This command checks your Hermes setup and points out missing or broken pieces. It is one of the best commands to remember early because it helps with:
provider problems
dependency issues
general setup confusion
If Hermes suggests a fix and you understand what it is changing, you can also try:
hermes doctor --fix
I would still read the output first instead of hammering --fix on autopilot. Sometimes the boring careful approach is the one that saves you from a second problem.
What success should look like
At this point, a good result looks like this:
hermes --versionworkshermes --helpshows the full command treehermes setupcompletes without getting stuckhermes chat -q "..."returns a real answerhermes doctordoes not report a fatal setup problem
If all of that works, you have a real baseline install, not just a nice intention and a half-working binary.
Common problems and quick fixes
hermes: command not found
Usually your shell has not reloaded after installation.
First reload your shell:
exec $SHELL
Then check Hermes again:
hermes --version
If that still fails, open a completely new terminal session.
Setup feels confusing and you want to start over
You can rerun the wizard:
hermes setup
If you only want to revisit missing or incomplete items on an existing install, Hermes also supports:
hermes setup --quick
Provider credentials are wrong or incomplete
Open the model selector:
hermes model
Correct the provider or model settings, then run:
hermes doctor
You changed something in config and it does not seem to apply
Hermes often needs a fresh session after configuration changes. Close the current session and start a new one rather than assuming the config was ignored.
How to update Hermes later
If you want to update Hermes Agent with the latest changes, run:
hermes update
On the test system used for this article, Hermes itself reported an update was available, so this is a real command worth remembering.
Where the important files live
The exact paths can vary, but the main ones are usually under ~/.hermes/:
config.yamlfor configuration.envfor secrets and API keyssessions/history under the Hermes home directory
logs under the Hermes home directory
If you are unsure which config file is active, do not guess. Run:
hermes config path
and then:
hermes config env-path
Use the printed paths rather than guessing.
What to read next
If you are building this out beyond a basic install, the most useful follow-up tutorials are:
How to configure models and providers in Hermes Agent
Hermes Agent troubleshooting guide
Hermes Agent tools explained: what to enable and when
How to set up scheduled jobs in Hermes Agent
If your site already has these related foundations, this article should also cross-link to:
Docker on Ubuntu or Debian
Docker Compose for self-hosted apps
Those are not required for a basic Hermes install, but they become useful later if you decide to containerize or automate surrounding services.
You’re done
You now have Hermes Agent installed, the config paths identified, the setup wizard completed, and a basic session test in place.
That is enough to move on to the more interesting stuff:
choosing the right provider setup
enabling the right tools
running scheduled jobs
connecting Hermes to the workflows you actually care about
And honestly, that is the point where Hermes starts becoming useful instead of just theoretically cool.