A self-hosted password manager is one of the highest-value apps you can put on a server because it helps you fix weak password habits everywhere else. Vaultwarden is especially appealing for homelabs and small VPS setups because it stays lightweight while still working with the official Bitwarden apps many people already know.
In this guide, you will deploy Vaultwarden with Docker Compose, store its data persistently, create the first account, then tighten the basics so you do not leave open signups or a careless backup plan behind.
What Vaultwarden is
Vaultwarden is an alternative server implementation of the Bitwarden client API written in Rust. In practical terms, that means you can self-host the backend and still use official Bitwarden browser extensions, mobile apps, and desktop clients.
For many home labs and small servers, it is a strong fit because it is lighter than the official Bitwarden server stack while still covering the everyday password-manager workflow most people want.
Why use Docker Compose for Vaultwarden?
Vaultwarden's official documentation includes a simple Compose-based deployment path with one main container, one persistent data directory, and a small set of environment variables.
That makes it a good match for this site's beginner-friendly stack:
Docker handles the container lifecycle
Docker Compose keeps the deployment in one readable file
the
vw-datadirectory keeps your database and attachments outside the containerupgrades are straightforward later
If you still need the foundations first, start here:
How to Install Docker on Ubuntu and Run Your First Container
Docker Compose for Self-Hosted Apps: A Beginner-Friendly Guide
What you will need
Before you start, have these ready:
a Linux server or VPS
SSH access to that server
Docker installed and working
the Docker Compose plugin available as
docker composea plan for how you will access the app through HTTPS, typically with a reverse proxy in front of Vaultwarden
about 15 minutes
Important: Vaultwarden's web vault now requires HTTPS for normal browser use. Opening it over plain HTTP, including
http://YOUR_SERVER_IP:8080, will trigger secure-context / insecure-URL errors in the browser client.For a real working setup, plan the first login through an HTTPS URL such as
https://vault.example.com.
Helpful next-step guides:
How this tutorial is structured
You will do the install in two phases:
bring Vaultwarden up with open signups enabled temporarily so you can create the first account
turn signups off, optionally add an admin token and SMTP later, and keep a simple backup path ready
That avoids the common beginner mistake of locking yourself out before the first account exists.
Step 1: Connect to your server
Use SSH from your local machine.
ssh your-user@your-server-ip
Replace your-user with your Linux username and your-server-ip with the server's public IP address.
Step 2: Create a folder for Vaultwarden
Make a dedicated app directory so the stack and its data are easy to find later.
sudo mkdir -p /opt/vaultwarden
Give your normal user ownership of the directory.
sudo chown "$USER":"$USER" /opt/vaultwarden
Move into it.
cd /opt/vaultwarden
Step 3: Create the persistent data folder
Vaultwarden stores its database and related files under /data inside the container. In this example, I map that to a local folder named vw-data.
mkdir -p vw-data
Step 4: Create the .env file
Using an .env file keeps the important settings in one place and makes later changes easier.
cat > .env <<'EOF'
DOMAIN=https://vault.example.com
SIGNUPS_ALLOWED=true
# ADMIN_TOKEN=replace-with-a-long-random-string
# SMTP_HOST=smtp.example.com
# [email protected]
# SMTP_PORT=587
# SMTP_SECURITY=starttls
# SMTP_USERNAME=your-smtp-username
# SMTP_PASSWORD=your-smtp-password
EOF
A few important notes:
DOMAINshould match the final HTTPS URL you will actually use for Vaultwardendo not leave this as
http://YOUR_SERVER_IP:8080if you plan to use the web vault in a browser, because the browser client blocks insecure URLsif your reverse proxy uses a different public URL later, update
DOMAINto that exact HTTPS URLSIGNUPS_ALLOWED=trueis temporary so you can create the first accountthe SMTP lines are optional for now and can stay commented until you need email features
Step 5: Create the compose.yaml file
The official documentation shows a minimal Compose setup with the vaultwarden/server:latest image, a mounted data path, and a published port.
cat > compose.yaml <<'EOF'
services:
  vaultwarden:
    image: vaultwarden/server:latest
    container_name: vaultwarden
    restart: unless-stopped
    env_file:
      - .env
    volumes:
      - ./vw-data:/data
    ports:
      - "8080:80"
EOF
What the important lines do
env_file: .env
This loads your Vaultwarden settings from the .env file without hardcoding them into the Compose file.
./vw-data:/data
This keeps the SQLite database, attachments, and other persistent files outside the container so they survive updates.
8080:80
This exposes Vaultwarden on port 8080 on your server.
If you already have a reverse proxy, you can keep Vaultwarden off a public high port and proxy HTTPS traffic to it instead. For a first deployment, the direct port is still useful for confirming that the container itself is running.
Step 6: Start Vaultwarden
Launch the stack from /opt/vaultwarden.
docker compose up -d
The first run will pull the image if it is not already cached on the server.
Step 7: Check that the container is running
docker compose ps
You should see the vaultwarden container in a running state.
If it exits immediately, check the logs.
docker compose logs --tail=100 vaultwarden
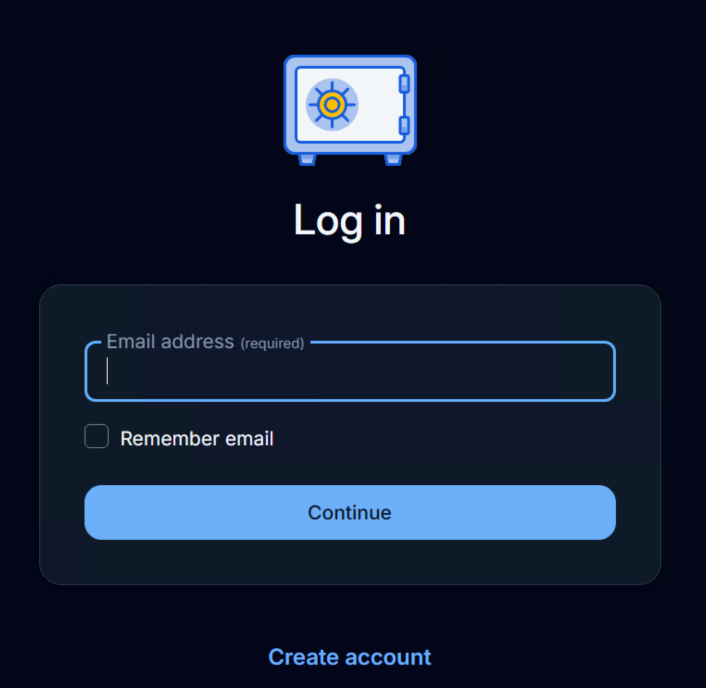
Step 8: Open the web interface
Open Vaultwarden through its HTTPS URL.
https://vault.example.com
Do not use http://YOUR_SERVER_IP:8080 for the browser-based web vault. Current Vaultwarden / Bitwarden web clients reject insecure HTTP API URLs and will throw errors such as Insecure URL not allowed. All URLs must use HTTPS.
On a fresh install, you should see the account creation screen because signups are still enabled.
Step 9: Create your first account
Create the first account in the web interface using an email address and a strong master password.
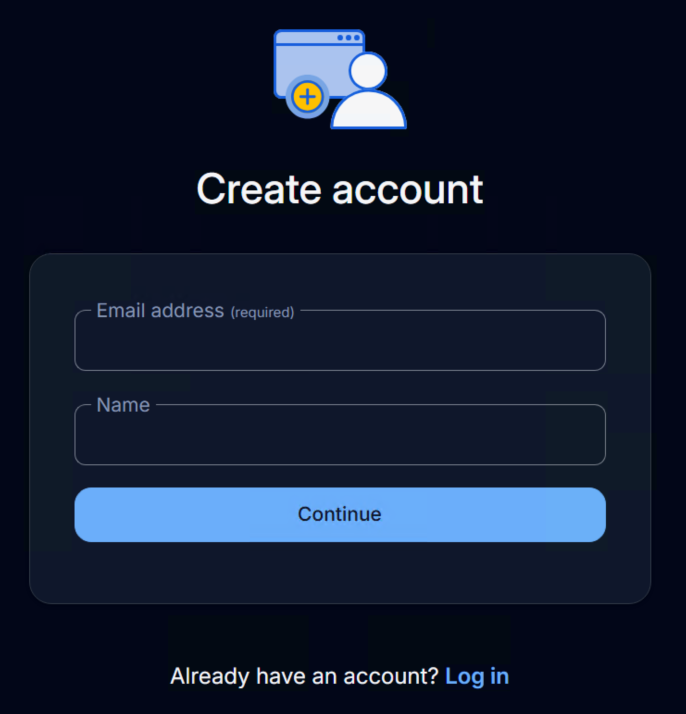
A few tips here:
use a password you will not forget lightly
keep an emergency record of that master password in a safe offline place if needed
once the first account exists, do not leave public signups enabled unless you intentionally want that behavior
After the account is created, log in and confirm that the vault opens normally.
Step 10: Turn signups off
This is one of the most important hardening steps.
Edit the .env file.
nano .env
Change this line:
SIGNUPS_ALLOWED=true
To this:
SIGNUPS_ALLOWED=false
Save the file, then restart the stack so Vaultwarden reads the new setting.
docker compose up -d
That leaves your existing account in place while preventing random new registrations.
Step 11: Verify login still works
Open Vaultwarden again and sign in with the account you just created.
https://vault.example.com
You should be able to log in normally, but the public signup flow should no longer be available the same way.
Step 12: Optional but smart — add an admin token
Vaultwarden supports an admin page, but it should not be left unprotected. The normal pattern is to generate a long random token and store it in the .env file.
Generate a random token.
openssl rand -base64 48
Copy the output, edit .env, and uncomment or add an ADMIN_TOKEN= line with that value.
nano .env
Then restart Vaultwarden.
docker compose up -d
If you do this, the admin page will be available at the same HTTPS base URL you use for Vaultwarden, for example:
https://vault.example.com/admin
Step 13: Optional — configure SMTP for email features
Vaultwarden can use SMTP for invitations, password-related email actions, and other account messages. The official SMTP documentation notes that SMTP_SECURITY=starttls is the normal default for authenticated submission on port 587.
Edit the .env file.
nano .env
Uncomment and fill in the mail settings you actually use.
SMTP_HOST=smtp.example.com
[email protected]
SMTP_PORT=587
SMTP_SECURITY=starttls
SMTP_USERNAME=your-smtp-username
SMTP_PASSWORD=your-smtp-password
If you use invitations or other email links, make sure DOMAIN matches the real base URL for the service so generated links are correct.
Restart Vaultwarden after the change.
docker compose up -d
Step 14: Plan your HTTPS move now, not someday
A password manager should not live forever on plain HTTP if it is used over the internet.
If this install is more than a short local test, your next job should be putting Vaultwarden behind a reverse proxy with HTTPS:
When you do that, update the DOMAIN value in .env to your final HTTPS URL and restart the stack.
Step 15: Make a simple backup routine
Vaultwarden is small enough that a basic file-level backup plan is already a big improvement over doing nothing.
First stop the stack so the vw-data directory is in a quiet state.
docker compose down
Create a compressed backup archive.
tar -czf vaultwarden-backup-$(date +%F).tar.gz vw-data
Start the stack again.
docker compose up -d
Store those backups somewhere other than the same server if the vault matters to you, which it does, because it is a password manager and backing it up properly is one of the smarter decisions you can make here.
How to update Vaultwarden later
When a new image is available, update the stack from /opt/vaultwarden.
docker compose pull
Then recreate the container with the newer image.
docker compose up -d
If you want to confirm what changed, check the logs after the restart.
docker compose logs --tail=100 vaultwarden
Common mistakes to avoid
Leaving signups enabled forever
Temporary open registration is fine for the first account. Forgetting to disable it afterward is not.
Using the wrong DOMAIN
If you later switch to https://vault.example.com behind a reverse proxy, update the DOMAIN value to that full URL. Vaultwarden uses it for features such as generated links and attachment behavior.
Treating backups as optional
If the server disappears and your only copy of vw-data disappears with it, your password vault disappears too.
Exposing the app publicly without HTTPS
Vaultwarden's browser-based web vault now expects HTTPS. A real internet-facing password manager should be behind HTTPS, and plain http://YOUR_SERVER_IP:8080 is not a good normal access method.
Final thoughts
Vaultwarden is one of the most practical self-hosted services you can run because it improves security across everything else you use. With Docker Compose, the base install is refreshingly small: one container, one data directory, and a few environment variables you can understand without summoning a committee.
Once this is working, the best follow-ups are tightening access, adding HTTPS, and making sure your backup routine exists before you need it.