Nextcloud is one of those self-hosted apps that quickly turns from “nice idea” into “why didn’t I do this sooner?” once you have it working. It gives you a private place for files, sync, and sharing without handing the whole experience over to a third-party cloud provider, and Docker Compose makes the initial deployment much easier to repeat and maintain.
In this guide, you will install Nextcloud with Docker Compose, back it with MariaDB and Redis, keep the important data persistent, and complete the first browser-based setup. You will also end up with a layout that is easier to update later than a pile of one-off commands.
Why this stack is a good starting point
The official Nextcloud Docker documentation makes two things clear:
the
nextcloud:apacheimage is the simpler option when you want the web server includeda real deployment should keep Nextcloud data in persistent storage instead of treating the container as disposable
The same official Docker docs also include Compose examples that pair Nextcloud with MariaDB, Redis, and a separate cron container. That is a good pattern to copy because it avoids the common beginner mistake of getting the login page working first and only later discovering that background jobs and caching were never set up properly.
What you need before you start
Have these ready first:
an Ubuntu or Debian server with SSH access
Docker installed and working
Docker Compose available as
docker composeat least 2 GB of RAM for a small personal setup, with more strongly recommended as your usage grows
a domain and reverse proxy if you plan to expose Nextcloud to the internet right away
If you still need the basics first, start here:
How to Install Docker on Ubuntu and Run Your First Container
Docker Compose for Self-Hosted Apps: A Beginner-Friendly Guide
If you want to put Nextcloud behind HTTPS after the stack is up, these are the most relevant follow-up guides:
Important: This walkthrough gets Nextcloud running first on port
8080so you can verify the app before adding more moving parts. For internet-facing use, put it behind a proper reverse proxy with HTTPS before treating it as a finished public deployment.
Step 1: Connect to your server
All commands in this guide run on the Linux server over SSH.
ssh your-user@your-server-ip
Replace your-user with your Linux username and your-server-ip with the public or private IP address of the server where Docker is installed.
Step 2: Confirm Docker Compose is available
Check that the Compose plugin works before building the stack.
docker compose version
If Docker prints a version, you are ready to continue.
Step 3: Create a folder for the Nextcloud stack
Keeping each service in its own folder makes updates, backups, and troubleshooting much easier later.
sudo mkdir -p /opt/nextcloud
sudo chown "$USER":"$USER" /opt/nextcloud
cd /opt/nextcloud
Step 4: Create the environment file
The official Nextcloud Docker image supports passing database settings through environment variables. I will keep the reusable values in a .env file so the Compose file stays cleaner.
cat > .env <<'EOF'
MYSQL_DATABASE=nextcloud
MYSQL_USER=nextcloud
MYSQL_PASSWORD=change-this-database-password
MYSQL_ROOT_PASSWORD=change-this-root-password
NEXTCLOUD_ADMIN_USER=admin
NEXTCLOUD_ADMIN_PASSWORD=change-this-admin-password
NEXTCLOUD_TRUSTED_DOMAINS=localhost 127.0.0.1 your-server-ip
EOF
Replace the placeholder passwords with long, unique values before continuing. Also replace your-server-ip in NEXTCLOUD_TRUSTED_DOMAINS with the actual IP address or domain name you will use in the browser for the first login.
Important: In this guide, the browser step uses
http://your-server-ip:8080. That means your server IP must be listed inNEXTCLOUD_TRUSTED_DOMAINSbefore you expect the page to open cleanly. Most readers will access Nextcloud by IP first, not by domain, so do not skip this.Also important:
NEXTCLOUD_TRUSTED_DOMAINSis applied by the Nextcloud Docker image during the initial automated install of a new instance. If the stack has already started once and created its config, changing.envlater will usually not updatetrusted_domainsin the existing installation. You will need to remove the containers withdocker compose down -v, modify the .env file and launch the containers again withdocker compose up -d
If you plan to use both an IP and a domain during setup, include both as a space-separated list.
If you want quick password material from the shell, this is a handy option:
openssl rand -base64 24
Run that command as many times as needed and paste the generated values into the .env file.
Step 5: Create the Docker Compose file
This Compose file follows the same overall pattern as the official Nextcloud Docker examples:
MariaDB for the database
Redis for caching and file locking
the
nextcloud:apacheapp containera separate
croncontainer for background jobsnamed volumes so the important data survives container recreation
cat > compose.yaml <<'EOF'
services:
  db:
    image: mariadb:lts
    command: --transaction-isolation=READ-COMMITTED --binlog-format=ROW
    restart: unless-stopped
    env_file:
      - .env
    volumes:
      - db:/var/lib/mysql

  redis:
    image: redis:alpine
    restart: unless-stopped

  app:
    image: nextcloud:apache
    restart: unless-stopped
    ports:
      - "8080:80"
    env_file:
      - .env
    environment:
      MYSQL_HOST: db
      REDIS_HOST: redis
    volumes:
      - nextcloud:/var/www/html
    depends_on:
      - db
      - redis

  cron:
    image: nextcloud:apache
    restart: unless-stopped
    entrypoint: /cron.sh
    env_file:
      - .env
    environment:
      MYSQL_HOST: db
      REDIS_HOST: redis
    volumes:
      - nextcloud:/var/www/html
    depends_on:
      - db
      - redis

volumes:
  db:
  nextcloud:
EOF
What each part does
db
This is the MariaDB container that stores Nextcloud's database. The official Nextcloud examples commonly use MariaDB with transaction isolation configured for normal Nextcloud behavior.
redis
The official Docker docs document Redis support for memory caching and locking. For beginners, the key point is that Redis helps Nextcloud avoid some annoying file-locking behavior and performs better than running without it.
app
This is the main Nextcloud web app. Using the Apache variant keeps the web server inside the same container, which is simpler than starting with the FPM variant.
cron
The separate cron container runs Nextcloud background jobs through /cron.sh. That is a better long-term default than leaving background jobs in AJAX mode, especially once your server starts doing real work.
Named volumes
The official Docker documentation stresses that Nextcloud data should live in persistent storage. Here, the db and nextcloud volumes keep your database and application data from disappearing when containers are recreated during upgrades.
Step 6: Start the stack
Bring the containers up in detached mode.
docker compose up -d
Docker will pull the images on the first run, so this step may take a minute or two.
Step 7: Check that the containers are running
Before opening the browser, make sure the services actually came up.
docker compose ps
You should see db, redis, app, and cron in a running state.
If something exited immediately, inspect the logs before moving on.
docker compose logs --no-log-prefix --tail=100
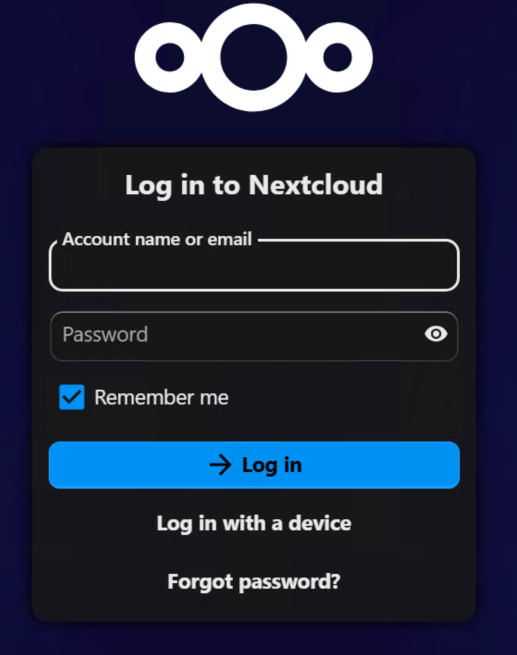
Step 8: Open Nextcloud in the browser
Most readers will open Nextcloud by server IP first, not by domain. Because of that, make sure the exact server IP you plan to use in the browser is already listed in NEXTCLOUD_TRUSTED_DOMAINS.
In your browser, visit the same host you added to NEXTCLOUD_TRUSTED_DOMAINS, for example:
http://your-server-ip:8080
Because this guide sets NEXTCLOUD_ADMIN_USER and NEXTCLOUD_ADMIN_PASSWORD in .env, the container is expected to perform the initial install automatically on first boot.
If everything went well, you should reach Nextcloud without an Access through untrusted domain warning and then log in with:
username: the value from
NEXTCLOUD_ADMIN_USERpassword: the value from
NEXTCLOUD_ADMIN_PASSWORD
If the page does not load yet, or the install is still finishing in the background, give the stack another 20 to 30 seconds and refresh once before assuming it failed.
Step 9: Verify the automated install completed
If the login page appears, sign in with the admin username and password from .env.
If you see the web installer instead of the login page, or you hit an error, check the container logs:
docker compose logs --no-log-prefix --tail=100 app
On a clean first run, the app container should perform the install automatically because this guide sets:
NEXTCLOUD_ADMIN_USERNEXTCLOUD_ADMIN_PASSWORDMYSQL_DATABASEMYSQL_USERMYSQL_PASSWORDMYSQL_HOST
Step 10: Verify that Nextcloud finishes loading
After installation completes, Nextcloud should open the main dashboard. You may see onboarding panels or first-run recommendations, which is normal.
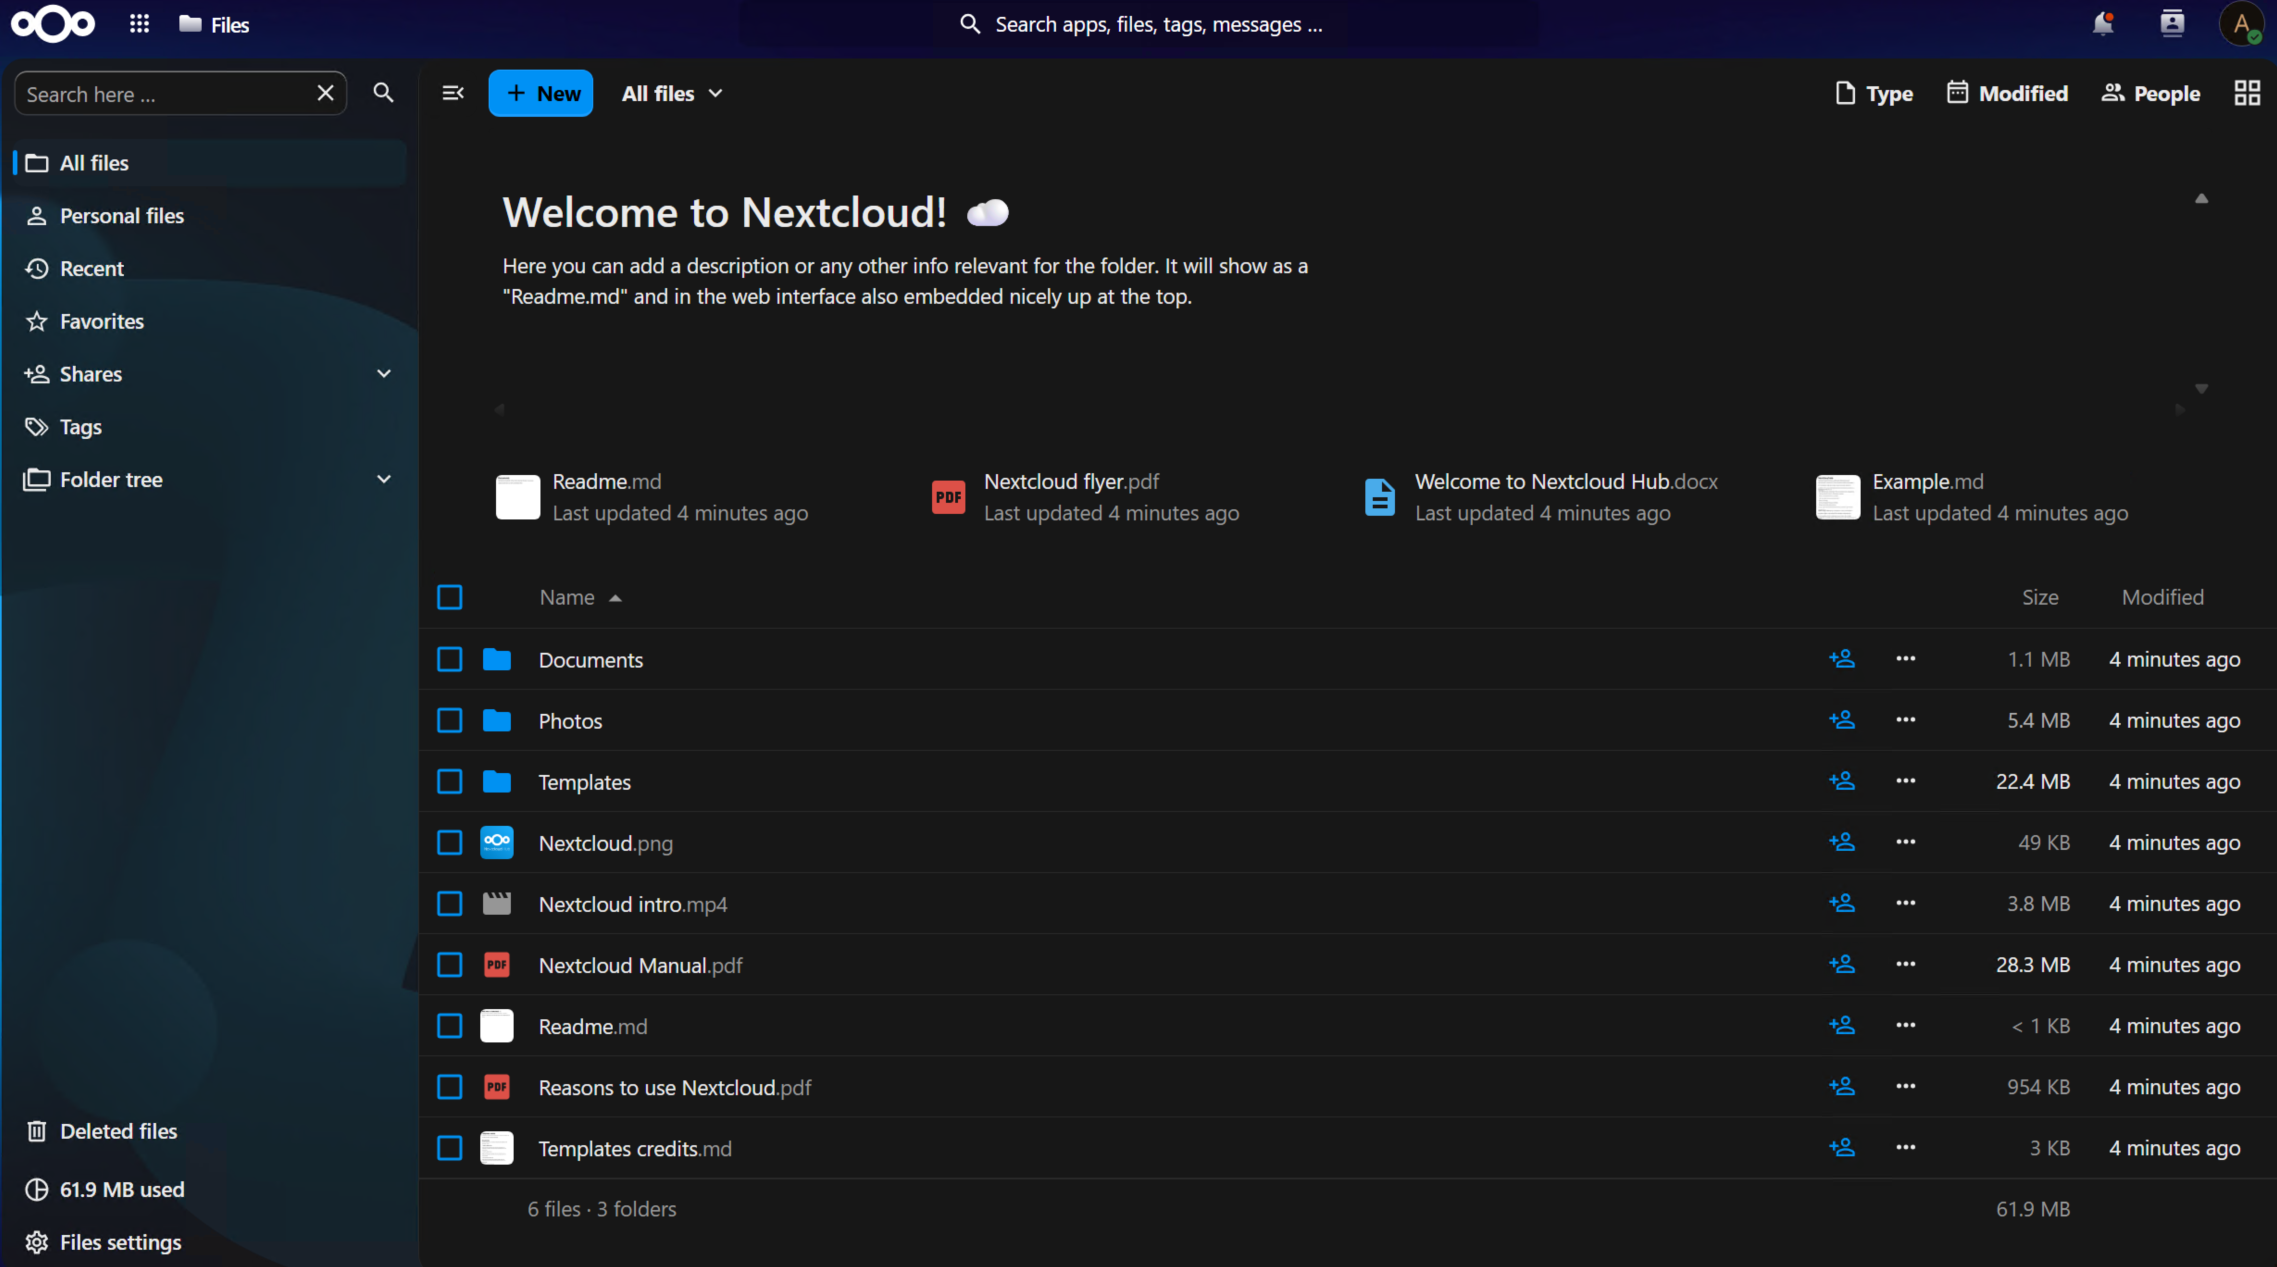
At this point, the core deployment is working:
the web app is up
MariaDB is connected
Redis is available
the persistent volumes are attached
the cron container is present for background jobs
Step 11: Confirm the cron container is still healthy
Because this stack includes a dedicated cron service, it is worth checking that it did not exit after the first install.
docker compose ps cron
You want the cron service to show as running. If it is not, inspect its logs.
docker compose logs cron --tail=50
Step 12: Check Nextcloud's system status from the CLI
The official Docker README documents the occ command for admin tasks. It is a useful sanity check after the first install because it verifies the app is healthy from inside the container, not just in the browser.
docker compose exec --user www-data app php occ status
A healthy response should show that Nextcloud is installed and report the current version.
Optional next step: put Nextcloud behind HTTPS
For a home-lab-only test, port 8080 may be enough. For normal long-term use, you will usually want a domain name and HTTPS in front of Nextcloud.
That is where your reverse proxy comes in:
use Nginx Proxy Manager if you want a browser-based proxy workflow
use Caddy if you want a smaller config-driven setup with automatic HTTPS
When you move Nextcloud behind a reverse proxy, read the official Nextcloud reverse proxy documentation as well. The Nextcloud Docker docs also document related environment variables such as:
NEXTCLOUD_TRUSTED_DOMAINSTRUSTED_PROXIESOVERWRITEHOSTOVERWRITEPROTOCOLOVERWRITECLIURL
Those settings matter because Nextcloud needs to know which hostnames and forwarded headers it should trust.
Updating Nextcloud later
One of the nice things about this layout is that upgrades stay predictable. A normal update cycle is usually just:
cd /opt/nextcloud
docker compose pull
docker compose up -d
Before major upgrades, take backups of both the database and your persistent data. That is the part people regret skipping right before they learn why snapshots are not the same thing as a backup plan.
Troubleshooting tips
If the installer cannot connect to the database:
confirm the
dbcontainer is runningdouble-check the values in
.envmake sure you entered
dbas the database host in the browser, notlocalhost
If the page loads slowly or throws startup errors:
check container state with
docker compose psinspect logs with
docker compose logs --tail=100confirm the server has enough RAM and disk space
If Nextcloud says Access through untrusted domain during first setup:
this usually happens because you opened
http://your-server-ip:8080before adding that IP toNEXTCLOUD_TRUSTED_DOMAINS, or because the instance was already created before you changed.envmake sure
NEXTCLOUD_TRUSTED_DOMAINSin.envincludes the exact IP address or hostname you used in the browserremember that changing
.envafter the first successful startup usually does not rewritetrusted_domainsin an existing installationfor an already-created instance, update the setting directly, for example with
docker compose exec --user www-data app php occ config:system:set trusted_domains 1 --value=your-server-ipif you are intentionally starting over from scratch, remove the existing persistent data only if you are sure you do not need it, then recreate the stack so the first-run automation happens again
If you later expose the stack through a domain and get trusted-domain or reverse-proxy warnings:
review the official Nextcloud reverse proxy documentation
set the appropriate trusted domain and overwrite values for your setup
verify your proxy is forwarding traffic to the correct internal port
Final thoughts
This is a solid beginner-friendly way to get Nextcloud running without overcomplicating the first deployment. You are starting with the simpler Apache image, using the same service pattern shown in the official Compose examples, and keeping the important data in persistent storage so the stack is ready for normal maintenance later.
Once this base install is working, the next logical improvements are HTTPS, backups, and a clean domain name. Those extra steps matter, but getting the core application up first makes the rest much easier to reason about.