If you want the shortest supported path to a working OpenClaw install on Ubuntu, it looks like this:
install OpenClaw
run
openclaw onboard --install-daemonconfirm the Gateway is up
open the Control UI over an SSH tunnel instead of exposing it directly
That is the path I would recommend for a first VPS setup because it stays close to the current docs and avoids turning a straightforward install into a security experiment.
What you are setting up
This guide gives you a basic but usable OpenClaw foundation on Ubuntu:
the OpenClaw CLI installed
onboarding completed
the Gateway running as a background service
the Control UI reachable from your browser
a safe first access pattern for a public VPS
I am deliberately keeping this one focused on the base setup. Channels, remote exposure, and more opinionated hardening can come afterward.
Before you start: requirements and VPS sizing
OpenClaw currently requires Node 22.19 or newer, with Node 24 recommended in the official docs.
The project docs do not publish a strict official CPU/RAM sizing matrix for a normal Ubuntu VPS install, so the figures below are practical planning guidance rather than fake precision.
Setup level | CPU | RAM | Storage | Good for |
|---|---|---|---|---|
Minimum test box | 1 vCPU | 1 GB | 10-15 GB | Very light remote-model-only testing |
Recommended starter VPS | 2 vCPU | 2 GB | 20-30 GB | Normal first install, onboarding, updates, logs, and basic testing |
More comfortable long-running setup | 2-4 vCPU | 4 GB | 40+ GB | Heavier use, more tools, more channels, and less chance of resource pain |
Docker-based path | 2 vCPU | 2 GB minimum | 25+ GB | Safer baseline if you specifically want the containerized route |
My practical recommendation
If you are choosing a VPS for this article, I would start at 2 vCPU and 2 GB RAM.
That is a much better default than trying to force everything onto a 1 GB box and discovering later that every update, service restart, and side task feels like a negotiation with the kernel.
What you need ready
Have these ready before you begin:
an Ubuntu server or VPS
SSH access
a user account with
sudointernet access
a model-provider API key or other supported auth method
about 15 to 20 minutes
You do not need Docker for this walkthrough.
Step 1: Connect to the Ubuntu server
SSH into the machine from your local computer.
ssh your-user@your-server-ip
Replace your-user and your-server-ip with your real values.
Step 2: Install OpenClaw
The current recommended first-run path starts with the official installer.
curl -fsSL https://openclaw.ai/install.sh | bash
The current docs also note that the installer can detect and install Node automatically when needed, which is one more reason this is the sane starting point for a fresh Ubuntu box.
Step 3: Confirm the CLI works
Check that the command is available.
openclaw --version
Then confirm the CLI responds normally.
openclaw --help
If both commands work, the base install is in good shape.
Step 4: Run the onboarding flow
Now run the setup path OpenClaw actually wants first-time users to use.
openclaw onboard --install-daemon
This flow walks through the parts people usually misconfigure when they try to freestyle the install:
model and auth setup
workspace configuration
Gateway settings
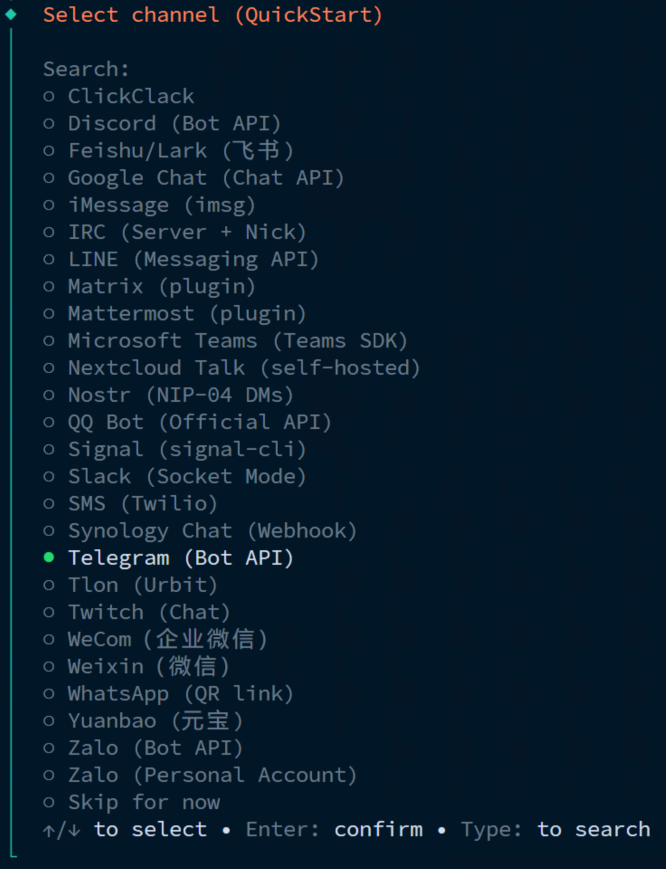
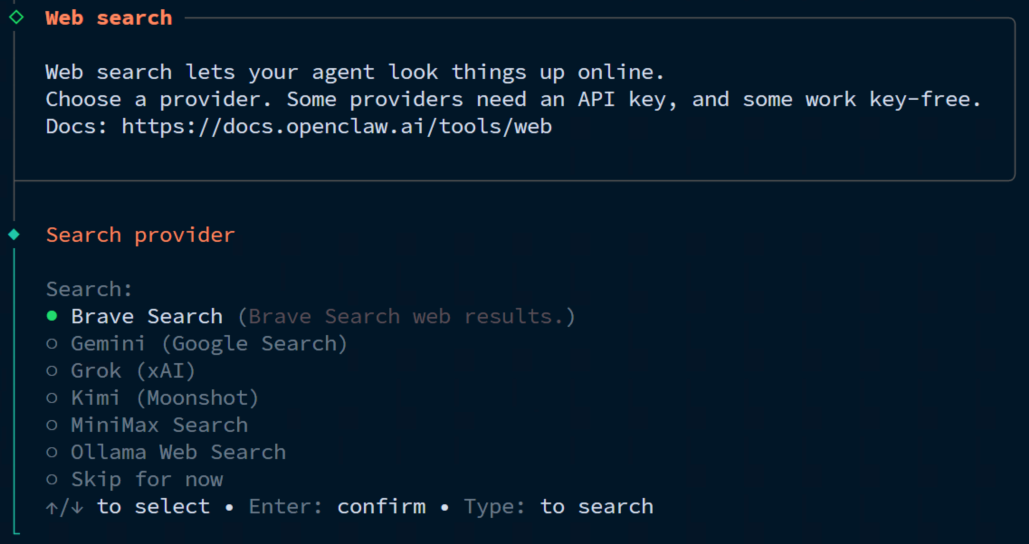
optional channel setup
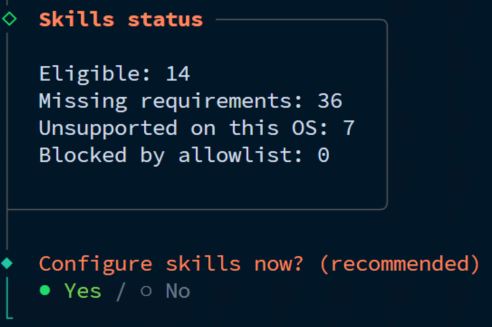
skills and hooks configuration
daemon installation
health checks
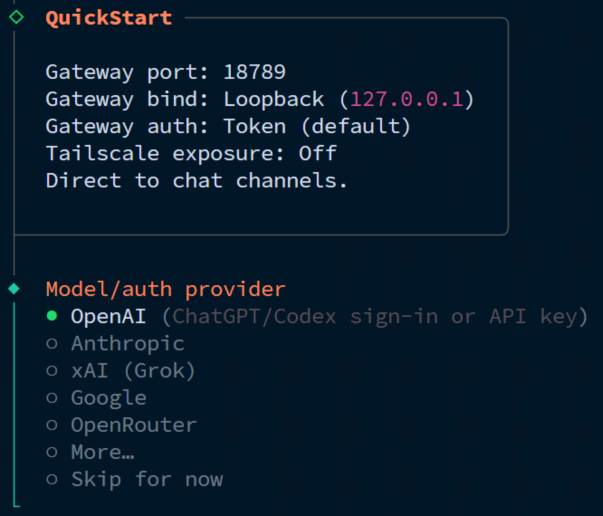
On Ubuntu, the docs say this installs the Gateway as a systemd user service by default. For the most people, the QuickStart onboarding mode is good enough.


Step 5: Verify the Gateway
When onboarding finishes, confirm the Gateway is actually running.
openclaw gateway status
A healthy setup should show the Gateway listening on port 18789.
If you want a more opinionated diagnostic pass, run:
openclaw doctor
That is worth remembering because it is one of the first commands to run whenever an install feels slightly off.
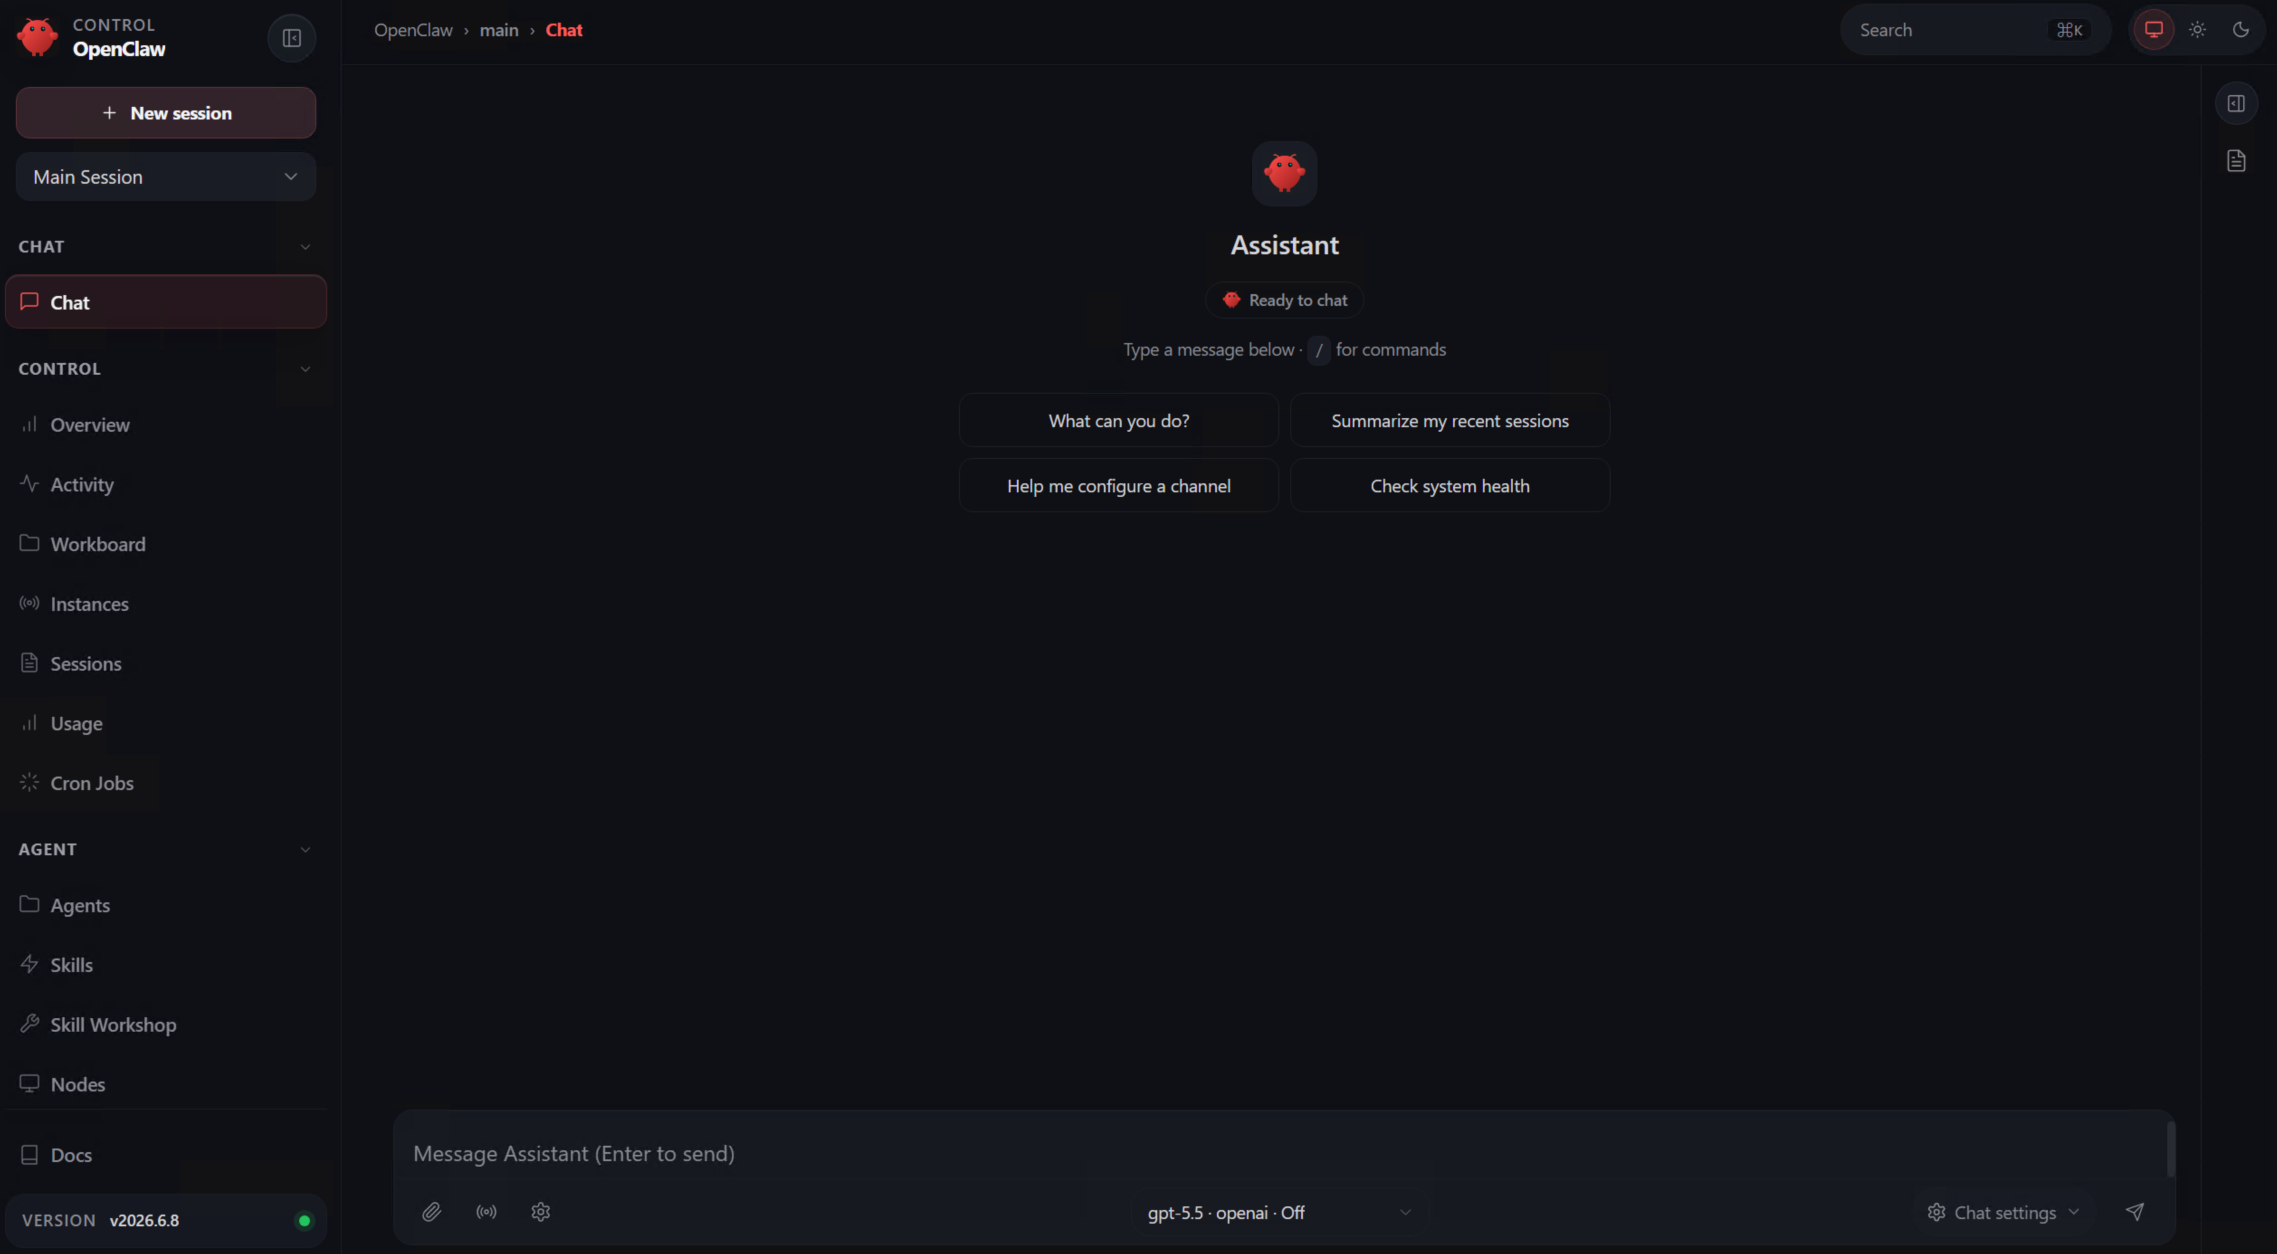
Step 6: Open the Control UI safely on a VPS
For a public Ubuntu VPS, the safer default is to keep the Gateway on loopback and tunnel to it from your own machine. When the onboarding wizard is finished, OpenClaw asks how would you like to hatch your agent, inside the terminal or in a browser. If you wish to control OpenClaw via the browser UI, choose "in a browse" and you will get the necessary token to open the UI after you connect the SSH tunnel.
From your local machine, open the SSH tunnel to the OpenClaw server:
ssh -N -L 18789:127.0.0.1:18789 your-user@your-server-ip
Then open this in your local browser:
http://127.0.0.1:18789/#token=xxxxxxxxxxxxxxxxxxx
If the Control UI loads, the important part is working.
Step 7: Send a test prompt
Do not overcomplicate the first check. A boring prompt is fine. The point is to prove the stack is alive and responsive before you start layering on channels or extra integrations.
What OpenClaw installs for you
One nice thing about following the supported onboarding flow is that it handles several moving parts in one go instead of making you stitch everything together manually.
By this point, you should have:
the CLI installed
a configured workspace
Gateway settings written
a background service installed
a working dashboard path
That is enough to count as a proper first setup, not just a binary that happens to be present on disk.
OpenClaw vs Hermes Agent
Since readers will inevitably compare them, here is the practical version.
Area | OpenClaw | Hermes Agent |
|---|---|---|
Main feel | Persistent assistant with a strong Gateway + Control UI model | Tool-heavy autonomous agent with strong automation workflows |
First-run path |
|
|
Runtime | Node.js | Python-based runtime |
Web control surface | Central to the product | Less central to the first-run story |
Good fit for | People who want an assistant-style experience with channel presence and a built-in control plane | People who want flexible tool use, reusable skills, automation depth, and agent workflows |
So yes, there is overlap, but the default product shape feels different pretty quickly once you start using them.
Two commands worth remembering
After the initial install, these are the routine commands I would keep in muscle memory:
openclaw update
openclaw doctor
The current update docs say openclaw update can detect the install type, fetch the latest version, run openclaw doctor, and restart the Gateway for you.
Common mistakes on first setup
Exposing the Gateway too early
If this is a fresh VPS, do not rush to bind everything publicly before you even confirm the dashboard works. SSH tunneling or Tailscale is the calmer first move.
Treating 1 GB RAM like a comfortable default
It is not. It may be enough for a small experiment, but it is not the size I would choose if I wanted the install to feel stable rather than merely possible.
Forgetting to verify the service
A successful installer run is nice, but openclaw gateway status is the checkpoint that actually matters.
You are done
At this point, you should have OpenClaw running on Ubuntu, the Gateway installed as a background service, and the Control UI reachable in a safer VPS-friendly way.
From here, the next useful directions are usually:
connect a channel like Telegram
tighten remote access with Tailscale or a reverse proxy
learn the update path properly
expand into more OpenClaw-specific workflows
That is enough for a solid first article, and it leaves room for follow-up pieces without trying to cram the whole OpenClaw universe into one tutorial.