Jellyfin is one of the most practical self-hosted apps you can run if you want your movies, shows, and music on infrastructure you actually control. It gives you a polished web interface, user accounts, library management, metadata fetching, and streaming without handing your collection to somebody else’s platform.
In this guide, you will deploy Jellyfin with Docker Compose on Ubuntu Server 24.04 LTS, mount a media library and persistent app data, start the container, and complete the first browser-based setup so you can begin building your library.
OS used in this tutorial
This walkthrough is written against Ubuntu Server 24.04 LTS.
That matters because the host-side setup in this guide assumes Ubuntu-style package management, Docker installation habits, filesystem layout, and firewall behavior. The Jellyfin container itself is portable, but the surrounding server steps are not always identical across Debian, Fedora, AlmaLinux, Rocky Linux, or older Ubuntu releases.
If you are using another distro, treat this as a close reference rather than a promise that every command is identical.
Minimum and recommended server size
Jellyfin’s docs explain the container deployment and networking behavior, but they do not publish a simple one-size-fits-all beginner hardware chart for every media workload. Real requirements depend heavily on your library size, whether clients can direct play, and whether the server must transcode video on the fly.
Here is a practical starting point.
Minimum
2 vCPU
2 GB RAM
20 GB SSD storage for the OS, Jellyfin config, cache, and metadata
separate storage for your actual media library
This is workable for a small test library or a light direct-play setup with one user at a time.
Recommended
4 vCPU
4 to 8 GB RAM
40 GB or more fast storage for the OS, metadata, cache, and growth
media stored on a larger disk, attached volume, or well-planned network path
This is a more comfortable starting point if you want a real library, multiple users, or occasional transcoding.
If you expect frequent transcoding, large 4K files, or multiple concurrent remote streams, size above that and think about GPU support early. Jellyfin is friendly, but video transcoding can turn a tiny server into a space heater with ambition.
Before you start
Have these ready first:
an Ubuntu Server 24.04 LTS machine or VPS
SSH access to that server
Docker installed and working
the Docker Compose plugin available as
docker composea folder or disk path that already holds, or will hold, your media files
If you still need the container basics, start here first:
How to Install Docker on Ubuntu and Run Your First Container
Docker Compose for Self-Hosted Apps: A Beginner-Friendly Guide
A quick note about where Jellyfin works best
You can run Jellyfin on a VPS, but it is not always the best first choice.
For a remote VPS deployment, think about:
upload bandwidth if you are streaming over the internet
storage cost if your library is large
whether your provider allows or throttles heavier media workloads
whether you will need hardware transcoding later
If your media files already live at home, a homelab server, mini PC, or other always-on local box can be a cleaner fit. Still, if your library is small and your goal is a simple self-hosted media server, a VPS can absolutely work.
How this Docker Compose setup works
For a beginner-friendly first deployment, I recommend keeping the stack simple:
one
jellyfincontainerone bind mount for persistent config
one bind mount for persistent cache
one bind mount for your media library
one published HTTP port on
8096
Jellyfin’s official container docs also mention optional UDP discovery on port 7359. That matters more on local networks for client discovery. For a basic server setup, the web interface on 8096 is the important part.
Step 1: Connect to your server
Use SSH from your local machine.
ssh your-user@your-server-ip
Replace your-user with your Ubuntu username and your-server-ip with the server’s public IP address.
Step 2: Create folders for the Jellyfin stack
Create a dedicated app directory.
sudo mkdir -p /opt/jellyfin
Give your regular user ownership of it.
sudo chown "$USER":"$USER" /opt/jellyfin
Move into it.
cd /opt/jellyfin
Create folders for persistent Jellyfin data.
mkdir -p config
mkdir -p cache
This guide assumes your media library will live at /srv/media. Create that path now if you need a starter location.
sudo mkdir -p /srv/media
If you created the folder yourself and want your normal user to manage it directly, hand over ownership.
sudo chown "$USER":"$USER" /srv/media
If your media already lives somewhere else, keep that path instead and adjust the Compose file in the next step.
Step 3: Create the compose.yaml file
Save this as compose.yaml inside /opt/jellyfin.
cat > compose.yaml <<'EOF'
services:
  jellyfin:
    image: jellyfin/jellyfin:10.11.11
    container_name: jellyfin
    restart: unless-stopped
    ports:
      - "8096:8096"
    environment:
      - JELLYFIN_PublishedServerUrl=http://YOUR_SERVER_IP:8096
    volumes:
      - ./config:/config
      - ./cache:/cache
      - /srv/media:/media
EOF
What the important lines do
image: jellyfin/jellyfin:10.11.11
Jellyfin’s official container docs support version-specific tags, major-version tags, minor-version tags, and latest. I am pinning this to the current stable release surfaced by the upstream release feed so the guide stays reproducible.
"8096:8096"
Jellyfin’s networking docs list 8096/TCP as the default HTTP port for the web frontend. That is the port you will open in your browser for the first login.
JELLYFIN_PublishedServerUrl=http://YOUR_SERVER_IP:8096
Jellyfin documents this as an optional published server URL. For a simple first setup, it helps the app advertise the address you expect clients to use.
Replace YOUR_SERVER_IP with your actual server IP address before you start the container. If you already have a domain and reverse proxy ready, use that final URL instead.
./config:/config
This keeps Jellyfin’s persistent configuration outside the container so it survives upgrades and restarts.
./cache:/cache
This stores cache and generated runtime data outside the container too.
/srv/media:/media
This is the important library mount. Jellyfin will scan whatever media you place under that host path.
If your files live somewhere else, change /srv/media to the real host path.
Step 4: Review the file before you start
A couple of details are worth a last check:
the IP or domain in
JELLYFIN_PublishedServerUrlis correctthe media path on the left side of
/srv/media:/mediais real on your serverthe host has permission to read the media files you want to expose
This is one of those small review steps that saves bigger cleanup later.
Step 5: Start Jellyfin
Bring the container up in the background.
docker compose up -d
The first run may take a minute while Docker pulls the image.
Step 6: Check that the container is running
docker compose ps
You should see the jellyfin service running.
If the container exits or keeps restarting, inspect the logs.
docker compose logs --tail=100 jellyfin
Common early problems are usually one of these:
the media path does not exist
the server cannot read the mounted files
a host firewall or provider firewall is blocking the port
Step 7: Open Jellyfin in your browser
Jellyfin’s networking docs list 8096 as the default HTTP web port, so open this in your browser and replace the IP with your real server address:
http://YOUR_SERVER_IP:8096
If you used a domain or reverse proxy from the beginning, open that URL instead.
On first launch, Jellyfin should show the welcome and setup screens. If it asks for a server, just add your ip address:8096 and hit Connect.
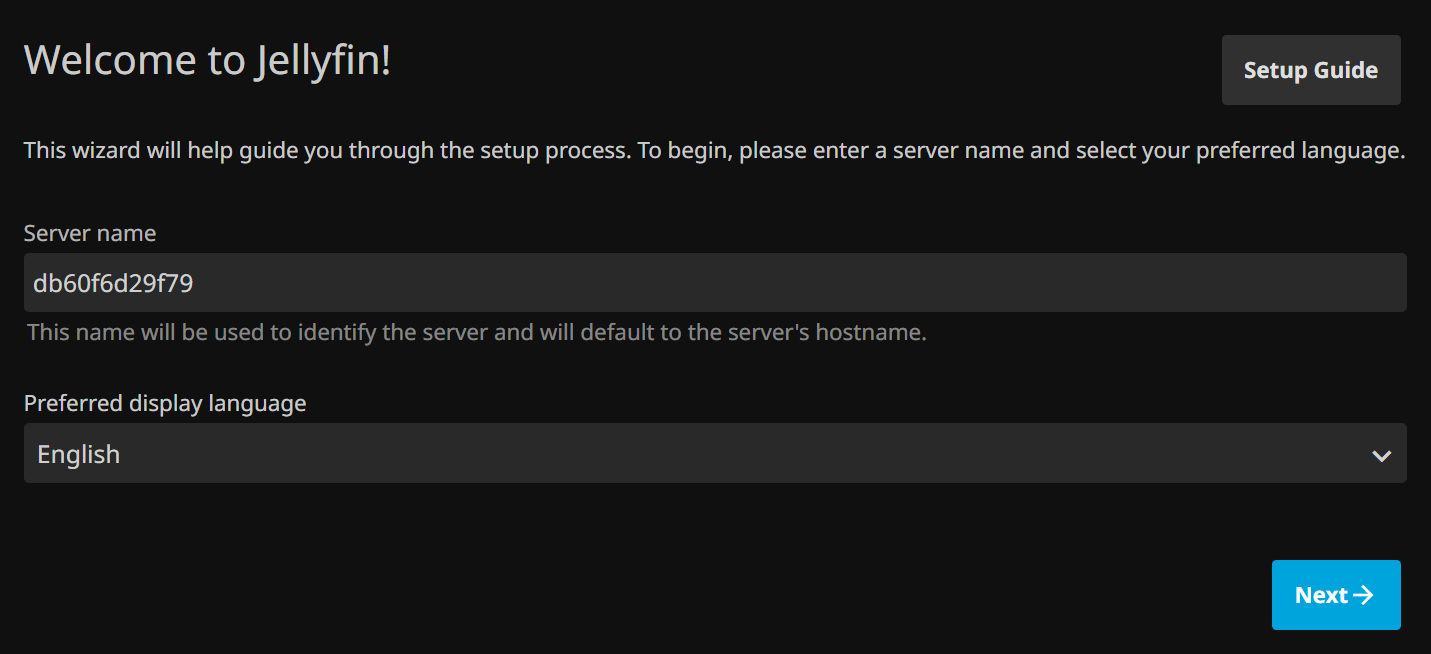
Step 8: Complete the first-run setup
The setup wizard is straightforward, but a few choices matter.
Create your admin account
Choose your first administrator username and password.
Pick your preferred language and metadata language
Set the language choices that best match your library and your users.
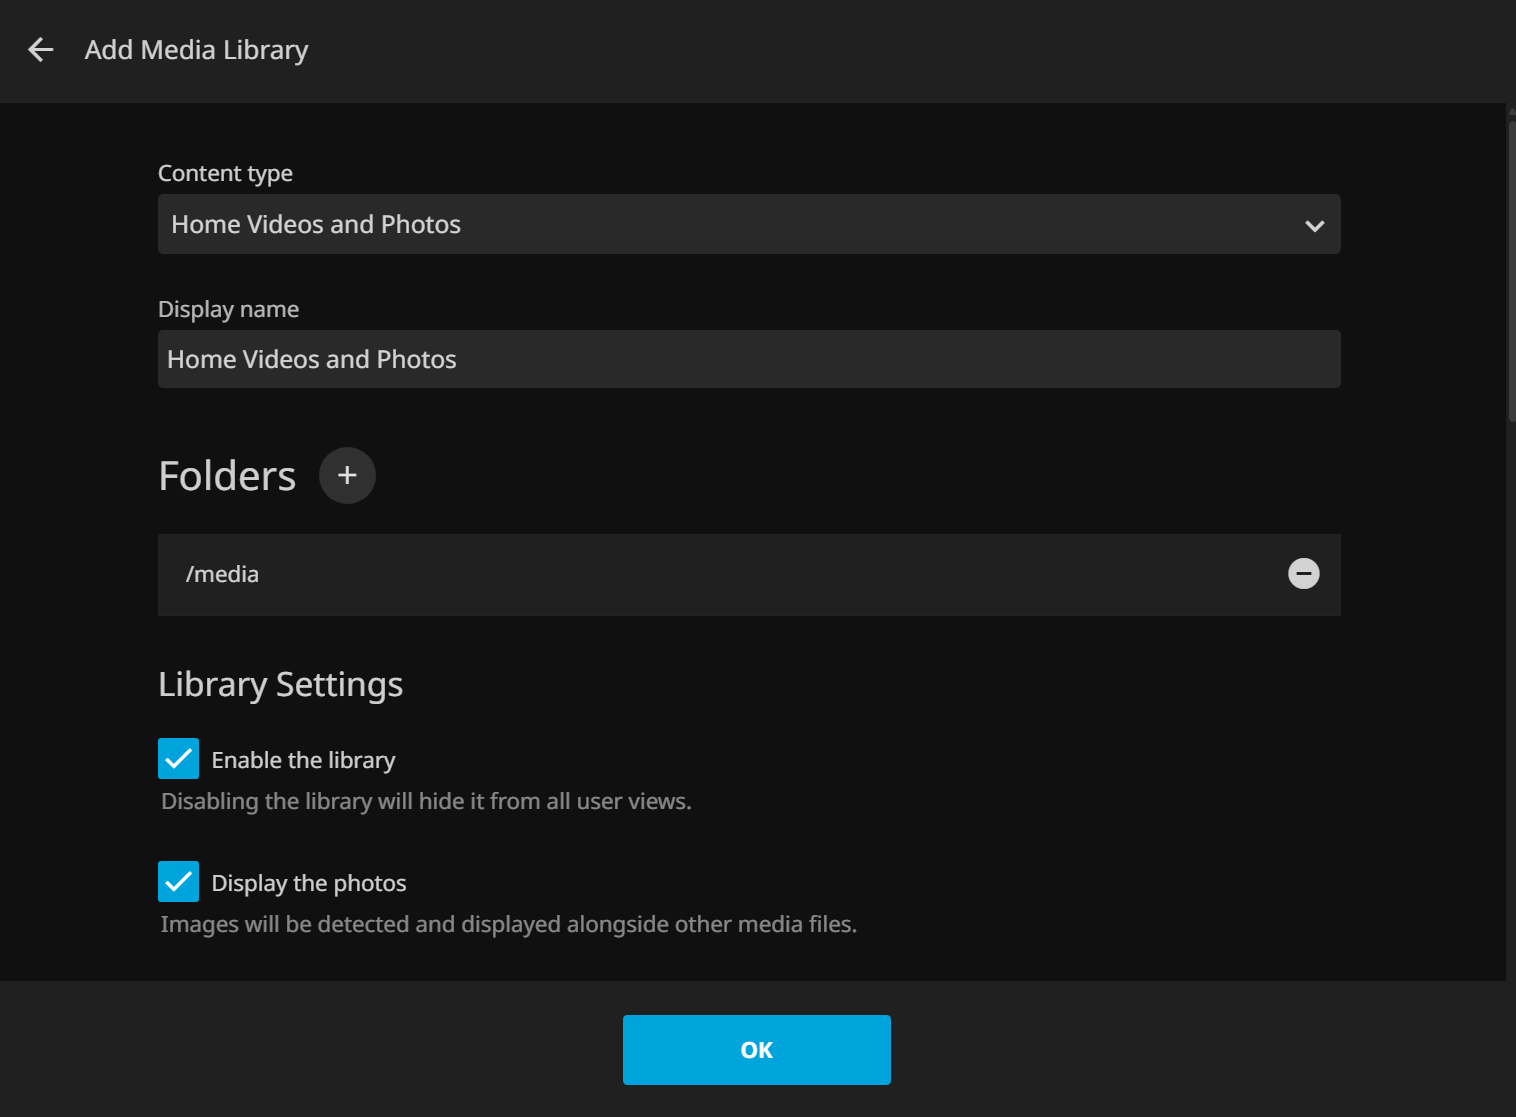
Add your first media library
When Jellyfin asks for a content path, you will point it to the container path, not the host path.
That means if your host bind mount is /srv/media:/media, inside Jellyfin you should browse to folders under:
/media
For example, if your host has:
/srv/media/movies
then Jellyfin will see it as:
/media/movies
That path mapping trips people up all the time, so it is worth calling out before the wizard sends you on a little scavenger hunt.
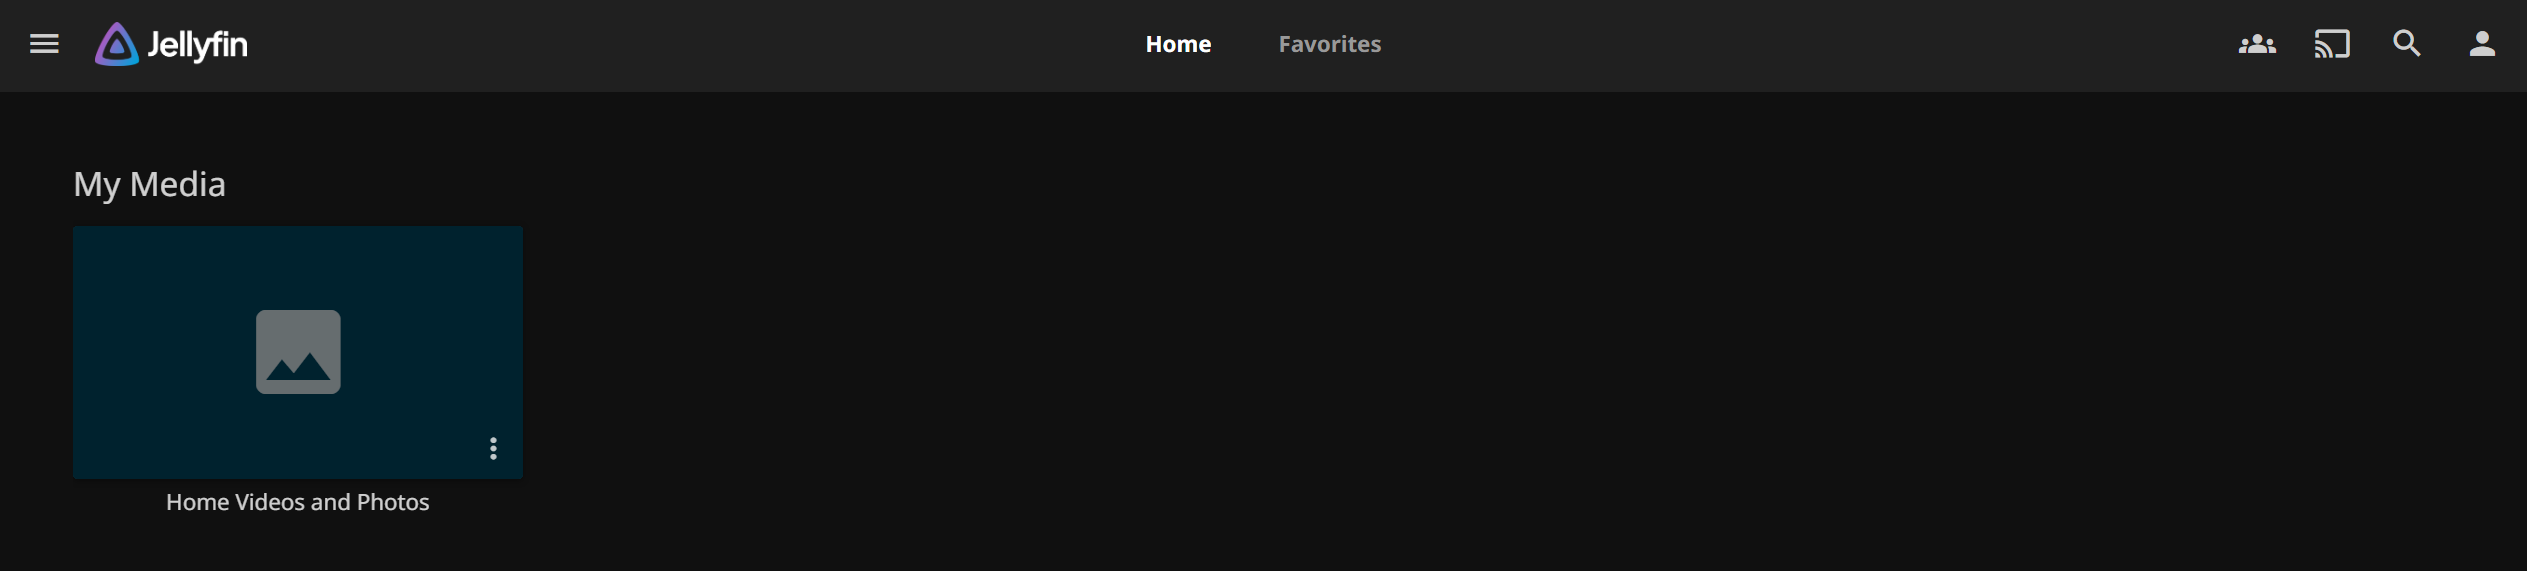
Step 9: Finish setup and verify the dashboard loads
After the wizard finishes, Jellyfin should land on the main dashboard or home screen.
If your library folders already contain media, metadata scanning will begin shortly after setup.
Step 10: Make sure Ubuntu is not blocking the port
If the browser cannot reach Jellyfin but the container is running, check whether UFW is enabled.
sudo ufw status
If UFW is active, allow Jellyfin’s HTTP port.
sudo ufw allow 8096/tcp
If your provider also has a cloud firewall or security group, allow the same port there too.
Recommended next step: put Jellyfin behind HTTPS
A raw port is fine for a first test, but it is not my favorite long-term setup for a media app you plan to reach remotely.
A cleaner next step is putting Jellyfin behind a reverse proxy with a domain and HTTPS:
That gives you a nicer URL, easier certificate management, and a more polished remote-access path.
Updating Jellyfin later
When you want to update Jellyfin, return to /opt/jellyfin and pull the newer image before restarting the stack.
docker compose pull
docker compose up -d
If you pinned a specific version tag in the Compose file, update that tag first.
Final thoughts
Jellyfin is one of those projects that rewards a clean first setup. Keep the library path simple, keep the config persistent, and do not overcomplicate the stack on day one.
Once the basics are working, you can add a reverse proxy, stronger remote access rules, more libraries, and eventually hardware transcoding if your server and workload call for it. The first win is just getting your own media server online without it turning into a weekend-long side quest.
Frequently Asked Questions
Is a VPS a good place to run Jellyfin?
Do I need hardware transcoding on day one?
Should I expose Jellyfin directly to the internet?
Was this article helpful?
Let me know so I can keep improving.